Setting up groups allows administrators to group individuals together to give/remove certain permissions.
To setup a group:
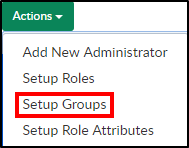
- To setup a Group, click Action
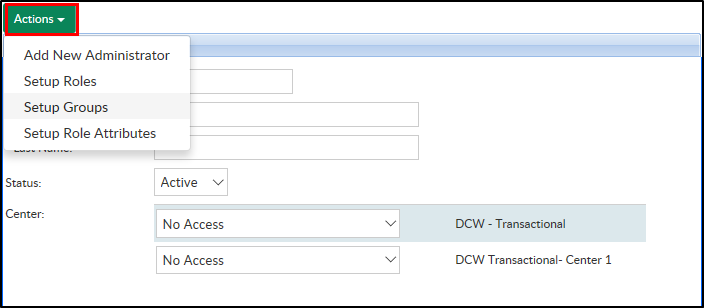
- Select Setup Groups
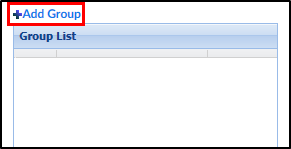
- Click Add Group
- Complete the Add New Group section
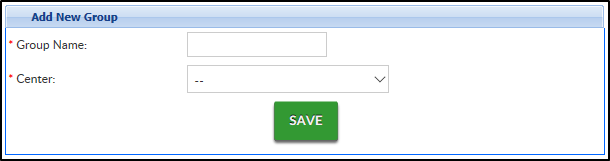
- Enter a Group Name - this is the name of the group or role
- Select the Center or business level from the drop-down
- Click Save
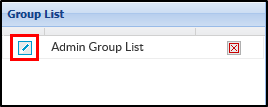
- Click the Edit icon to the left of the group name to add users to the lists
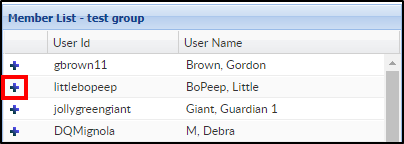
- Click the + icon to add users to the group
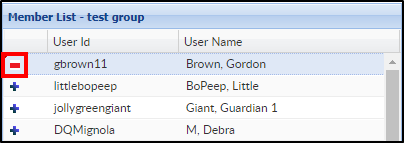
- If the person is already a member, the + icon will turn to a - icon


Please Note: To setup roles for the group added above click here. On the Setup Roles screen, select the name of the group created