Roles in the system allow groups of users to access different levels of information within the system. The process for setting up roles can be an on-going process as need may change.
As a default the below roles are configured and can be used without having to setup roles.
- Family Portal: This only allows administrators the ability to search for students in the Platform and view the student's information.
- Family Portal (Not Allowed): This role is only used for parents in the Parent Portal.
- Site Administrator (Full Access): This role allows administrators the same ability as a Super User in the Platform; except administrators are not able to delete items in the Platform.
- Site Administrator (No Financials): This role prevents administrators from being able to access the Setup tab, the Payments tab or the financial ledger for a family.
- View Only (No Financials): This role prevents administrators from being able to access the Setup tab, the Payments tab or the financial ledger for a family. Administrators are only able to view information.
- Super User: This role allows administrators full access to everything in the Platform. This is the highest role in the Platform
From the Setup Menu, select Admins.

On the Admins page, select the option to Setup Roles-

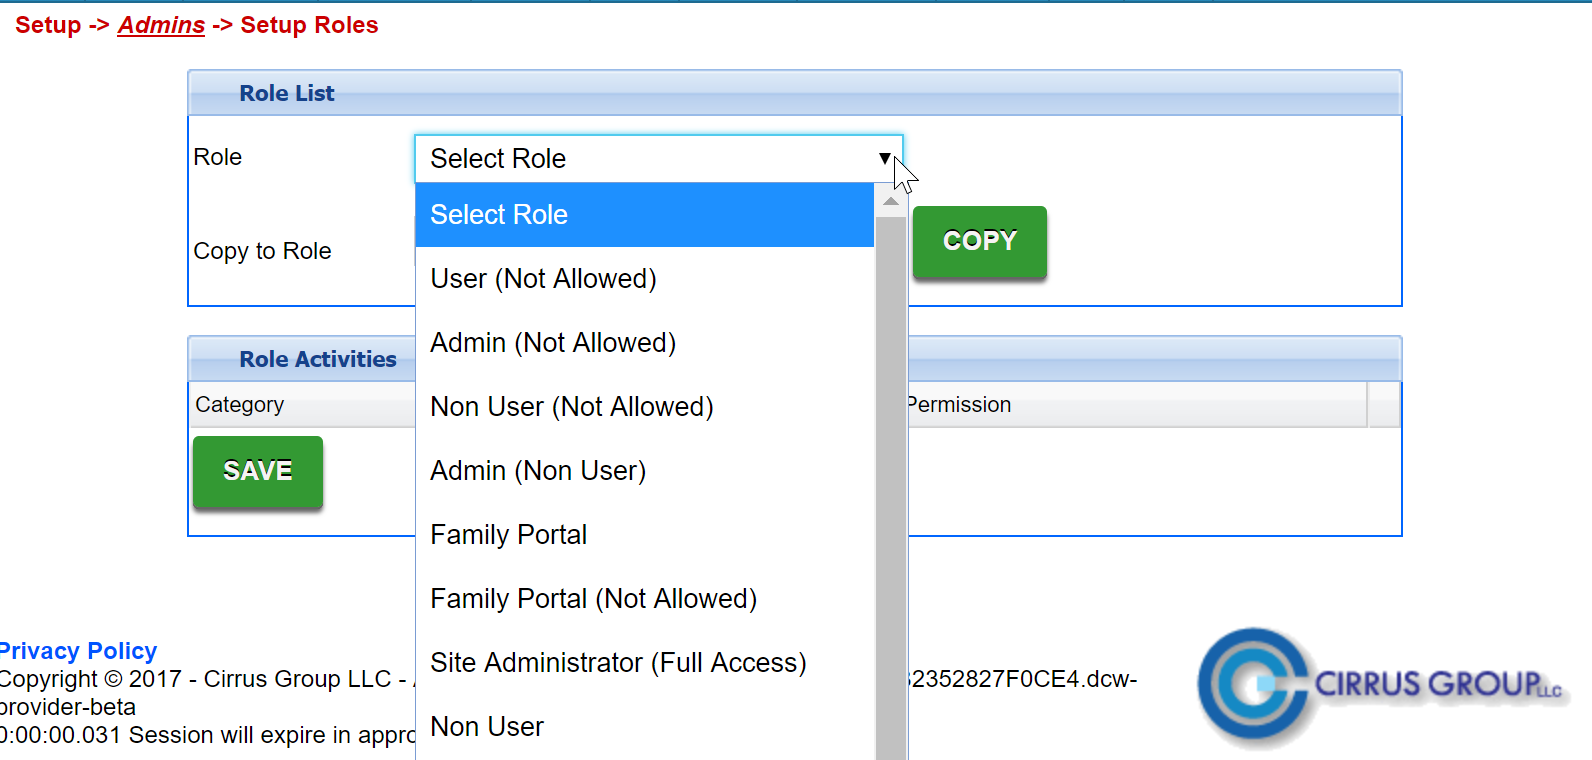
On the Setup Roles page, select the role that will be configured-
When the permissions pop up all of the lines will be yellow- this means the role has not been configured yet. As new features and permissions are added the lines of those permissions will be yellow meaning the option hasn't been set yet. For each permission decide if it should be set to-

- No Permission- will not be seen
- All Permissions- will be seen/used
- Read Only- will be view only (coming soon)

When all permissions have been set, press Save to continue. Go back to the Setup Admins page and edit a user to set their permission to the new role that has been configured.
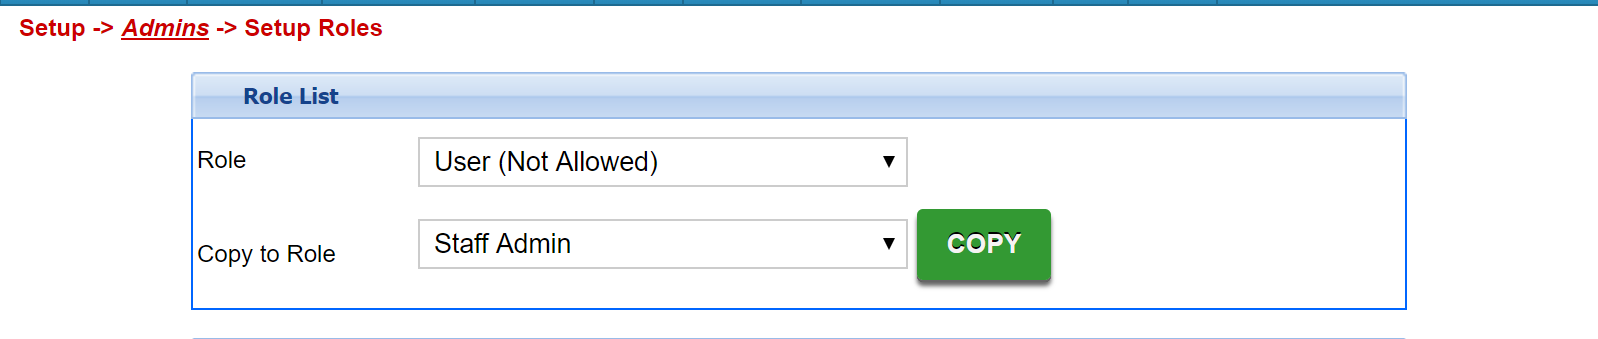
Once a role has been setup, permissions can be copied to another role by selecting the role that you want to copy from in the first field (Role) and the role you want to copy to in the second field (Copy to Role). Press Copy and all permissions will be saved to the Copy to Role. Select the role in the first field (Role) to edit or review as needed.