Batch enroll/edit allows users the ability to add or edit schedules for multiple children at a time.
From the family drop down menu select the Batch Enroll/Edit option-

Select the search criteria for the children you want to display, if you leave everything blank (as default) and select Show All Children- Yes all children will display for your business (you will not want to do this if you have many centers/many children). Once search criteria has been selected press Find.
- Center- select the center of the children you would like to display.
- Semester- select the semester of the children you would like to display, for children to display when you pull semester, it would mean the child had a program/room assignment for that semester.
- Category- select a category of programs from the drop down menu- any child that was/is associated with that category will display.
- Classroom- select a program from the drop down menu- any child that was/is associated with that program will display.
- Show All Children- select yes if all children associated to search criteria should display (active and inactive).

The student list will display children that match the search criteria above.
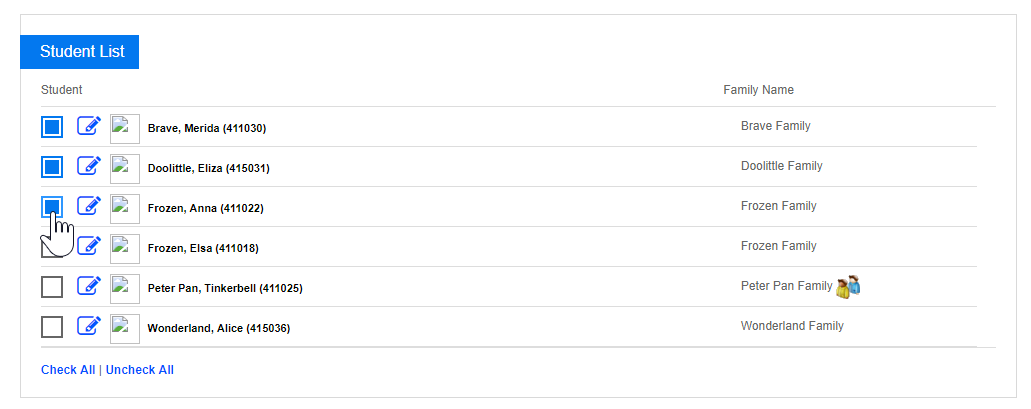
The square to the very left is where a child can be selected/deselected to be included in the batch. If the box is selected any new program/room assignment will apply.
The edit icon will allow users to add/edit a particular child's program/room assignment.
Click on the child's name to jump to the family record.
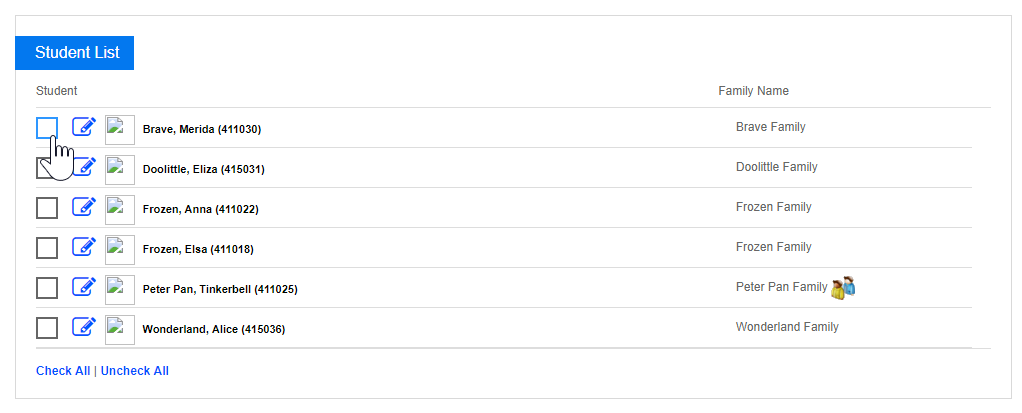
In this example, three children are going to be batch enrolled into a program-
After selecting the children scroll down to the Add New Classroom/Rate area, and select the information that will be added to the children. Remember this process is helping you add one program/dates and rates to all children selected. Once the program has been added to the children the children will start to display on rosters and sign-in sheets as of the effective date that is selected in the Add New Classroom/Rate section.
- Classroom
- Semester
- Schedule Effective Date
- Schedule End Date
- Select Days and expected arrival/departure time
- Select a rate
- Enter an override amount (if applicable)
- Enter Max Allowed Hours (if applicable)
- Enter Registration Fee (if applicable)
In the sponsor section select sponsor 1, 2 or Third party sponsor if the children you are enrolling are part of split families. Remember- whatever settings you enter here apply to ALL children selected.
If current schedules should be end dated check the box labeled End Date All Current Schedules.

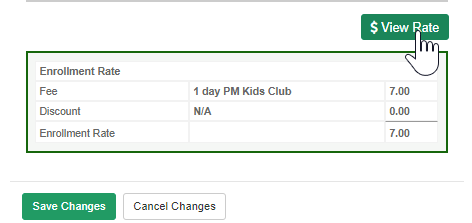
Press View Rate to see the expected amount selected families will be charged- note this will only work for normal or flat rates. This will not calculate the expected hourly rate if your site charges hourly based on schedule or attendance.
Press apply to selected to save the new program/room assignment to the selected children.
A confirmation box will appear at the top of the page confirming enrollment in the new program/room assignment has been successful. Select the Child's ID to jump to the child's record.

Continue batch enrolling as needed. New search criteria can be entered, different children can be selected.
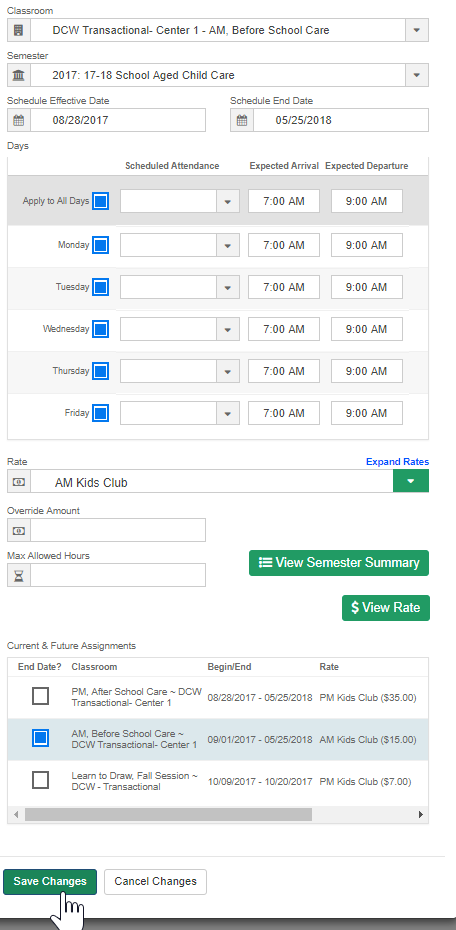
To add/edit a room assignment for a specific child select the edit icon-

To edit an existing schedule select the option to Load Active Schedule-
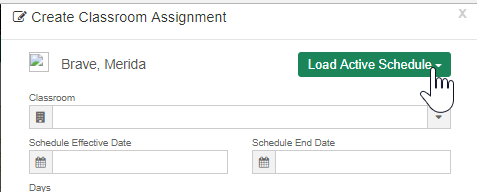
Once selected active schedules will display-
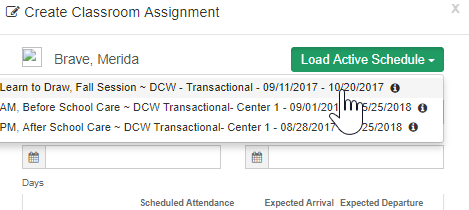
Enter the new effective date, then edit the schedule as needed- updating days attending, expected arrival/departure times, rates, override amounts etc. then press Save Changes.

Select View Rate to see an estimation of cost-
Once saved confirmation text will display on the students line under the student list-
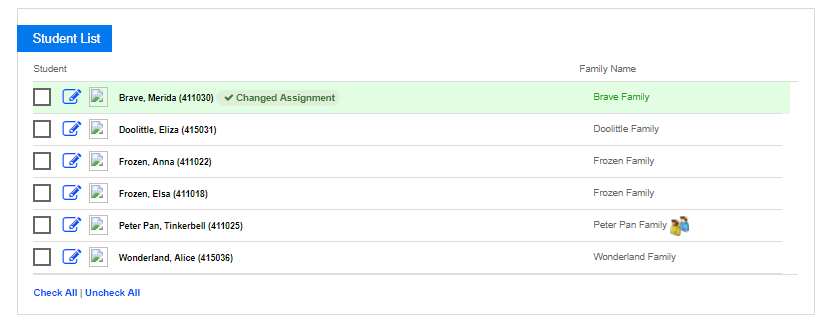
Continue as needed.
If a new schedule is being added for an individual child, enter classroom, semester, effective date, end date, days, times, rate, override amount and max allowed hours. If a current schedule should be end dated select the box next to the schedule, then press Save Changes.
