Batch and Report compiles the transaction information for the facility and displays the results.
To Upload Batch File from Unity
- Pull the “Settlement Report” from Unity and save to the computer. Ensure the report is saved as .xls format
- Please Note: If you do not have access, speak with Rachel from Unity to request access.
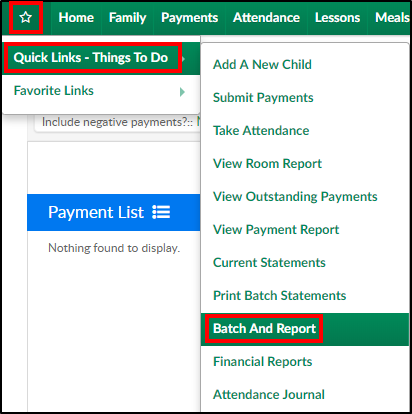
- From the Star menu option, click Quick Links, then select Batch and Report
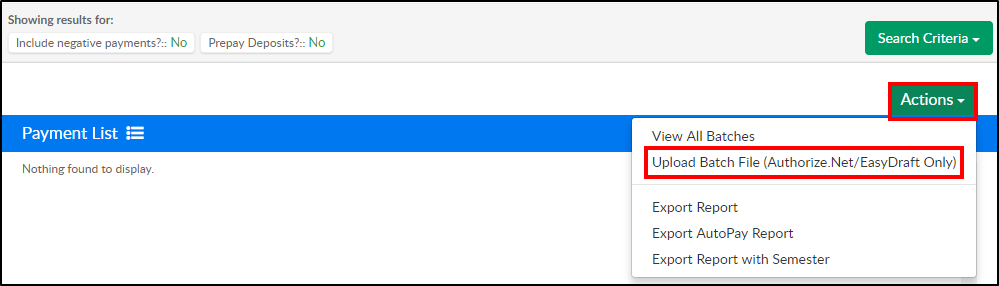
- Click Actions, then select Upload Batch File
- Complete the Upload Batch File section
- Payment Service – select Unity or Card Connect depending on the payment processor used
- Batch Number – enter a batch number. For example, use the date of the upload: 11132018
- Click in the Browse field to select the file exported from Unity. Please Note: Ensure the file being uploaded is in .xls format only
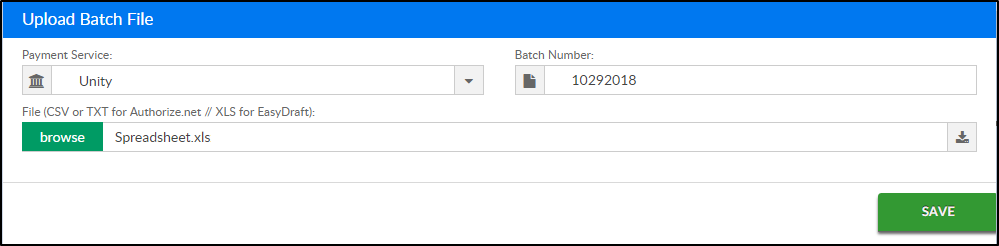
- Click Save


Pulling Reports
Pull multiple reports depending on the information needed:
- Under the Report > Financial screen, pull the following:
- Settlement/Allocation by Room Report
- Settlement/Allocation by Semester
- Settlement/Allocation Report
- Under the Batch and Report screen, click Actions and pull the Export Report with Semester report
Batch & Report Cash/Check/Money Order Process
To assign a batch number to cash, check, or money order, follow the steps below:
- From the Star menu option, click Quick Links, then select Batch and Report

- Click Search Criteria

- Enter any necessary search criteria
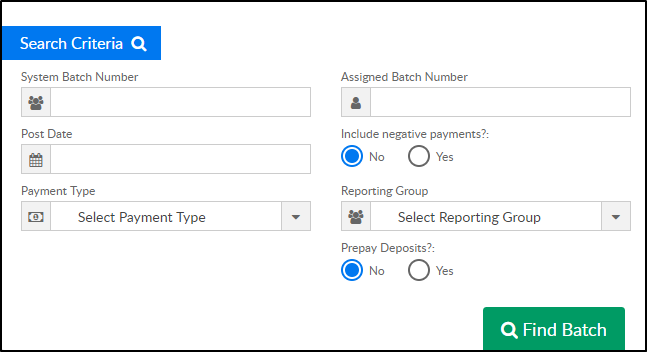
- System Batch Number – the system automatically generates zero as the batch number. Enter 0 for all payments that have not been batched yet
- Assigned Batch Number – if a batch number was previously assigned, enter that number here
- Post Date – enter a date to pull payments from a specific period. For all payments, leave this field blank
- Include Negative Payments
- Yes – display payments and corrections
- No – display only payments
- Payment Type – select the payment type to view or leave blank to view all types
- Reporting Group – to view payments from a specific reporting group, select from the dropdown
- Prepay Deposits
- Yes – view prepaid deposits
- No – do not include prepaid deposits
- Click Find Batch
- Place a check mark next to each line to assign a batch number to

- Scroll down to the Assign Batch section
- Enter a new batch number in the New Assigned Batch Number field
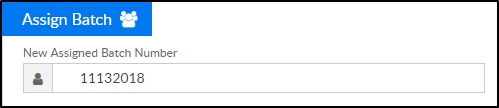
- Click Update Batch to complete the batch number assignment
- The following message will appear at the top to confirm the batch has been updated

- Repeat steps 2-8 for additional payment types. Batch numbers can be assigned to multiple batches. For example, cash, check, and money order must be done separately, but can be assigned the same batch number


Find Batch with all Payment Types
- Click Search Criteria
- Enter search criteria
- Ensure System Batch Number is blank
- Enter the Assigned Batch Number
- Ensure Payment Type is set to Select Payment Type
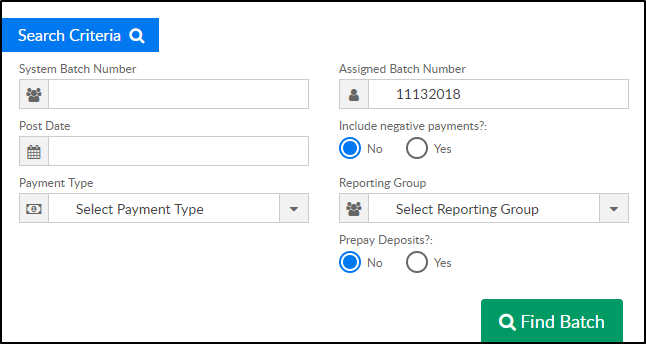
- Click Find Batch
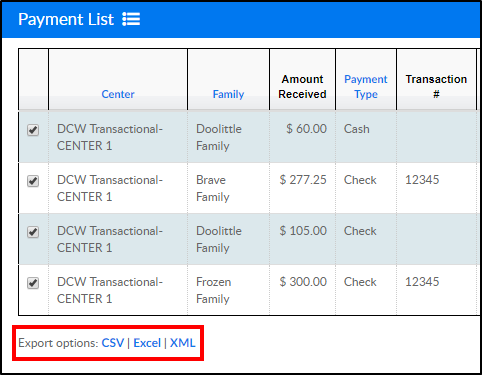
- All payments/payment types assigned to the batch number will be listed below.
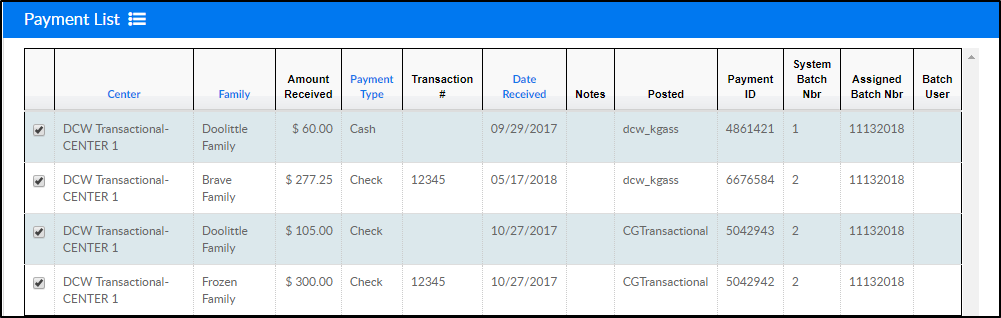
- List can be reordered by Center, Family, Payment Type, or Date Received by clicking on the title
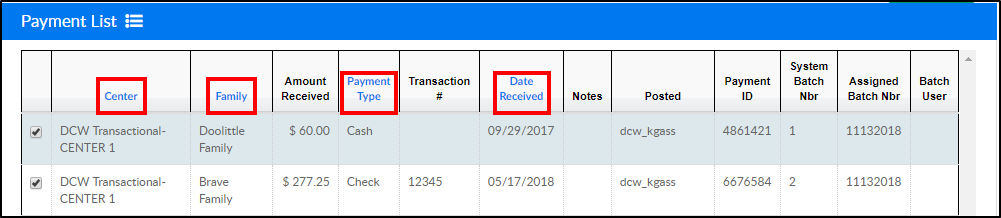
- Payment List can also be exported to CSV, Excel, or XML formats