Third Party payments are made on the Payments > Deposit screen, then must be allocated to specific students in the system from the Payments > Third Party Journal screen.
How to Make a Third Party Payment
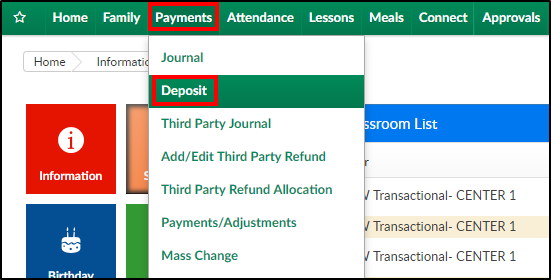
- Click Payments, then select Deposit
- To add a payment, click +Add Payment

- Complete the Payment popup
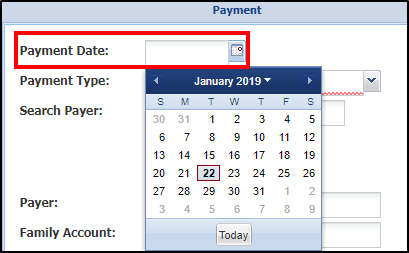
- Payment Date - select the date of the payment from the calendar
- Payment Type - choose the Third Party Payment type

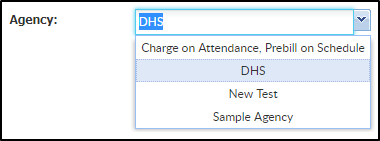
- Agency - select the third party agency that made the payment from the drop-down menu
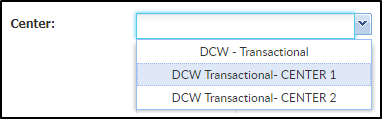
- Center - select the center from the drop-down menu
- Payer - the payer field will auto-fill based on what was selected in the Agency field. This field is read-only

- Payment Amount - enter the payment amount

- Authorization # - enter the check number or authorization number, if applicable

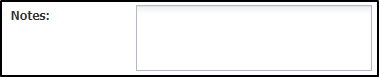
- Notes - enter any additional notes. Please Note: information entered in this field will display on the family's statement
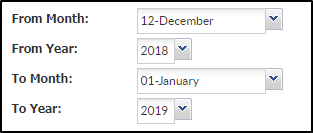
- From Month - select the starting month the payment will be applied to
- From Year - select the starting year the payment will be applied to
- To Month - select the ending month the payment will be applied to
- To Year - select the ending year the payment will be applied to
- Payment Date - select the date of the payment from the calendar
- Click Save. Please Note: once saved, a blank payment screen will open for the next payment to be receipted
- All added payments will display in the Payments section

- Edit Payment - click the edit/modify icon to the left of the Payer name to edit the payment details
- Hourglass icon - this icon means the payment is pending
- Delete Payment - click the red X to delete the payment from the batch
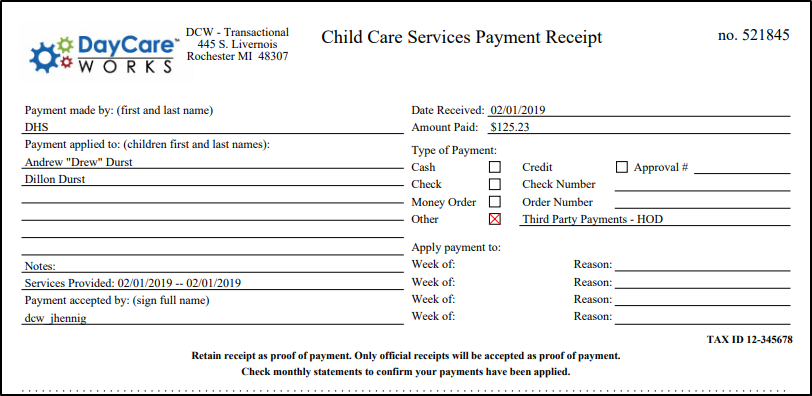
- Print Receipt - click the PDF icon to pull a receipt for the payment
- Click Post once all deposits have been entered
- A confirmation screen will appear: Are you sure you want to post the deposit? Click OK
- Another confirmation message will appear: Deposit has been posted. Click OK