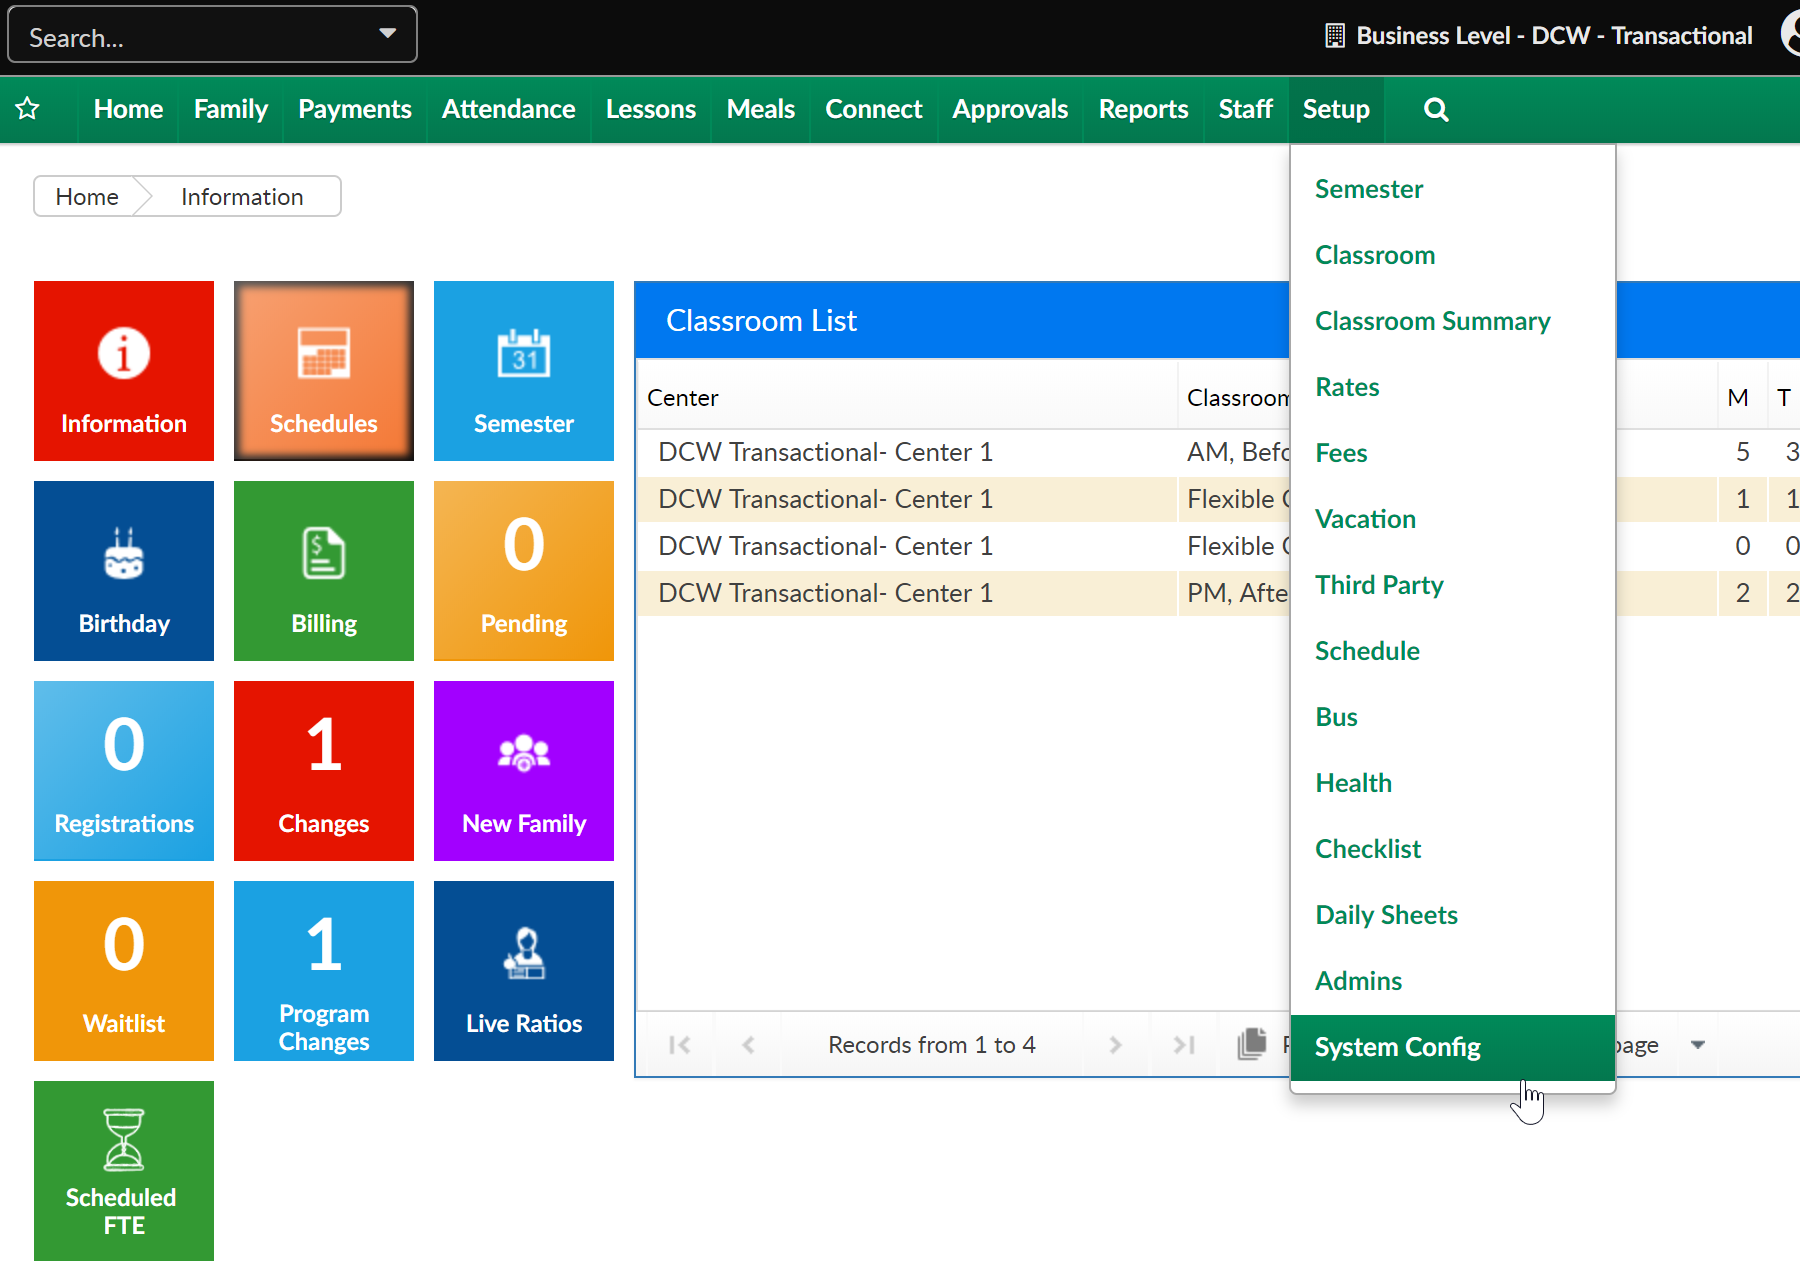
From the Setup menu, select System Config
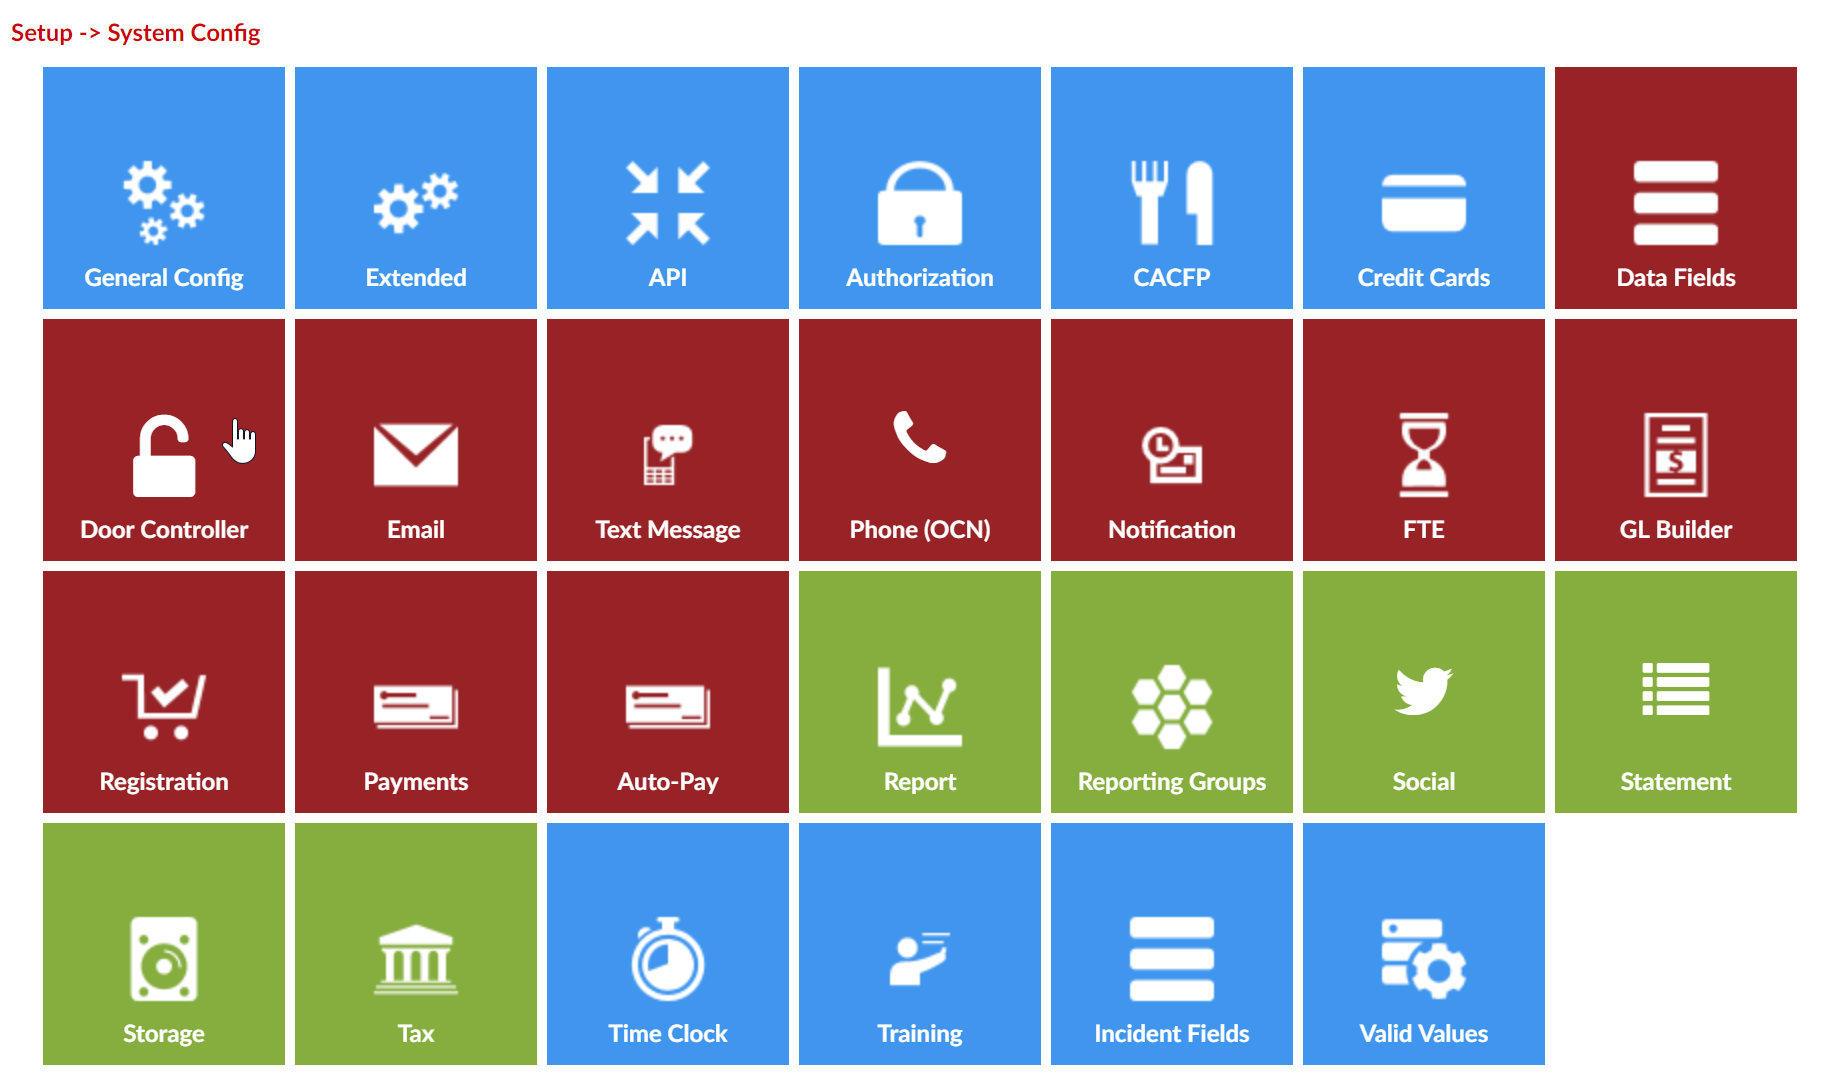
Then select the Door Controller tile-
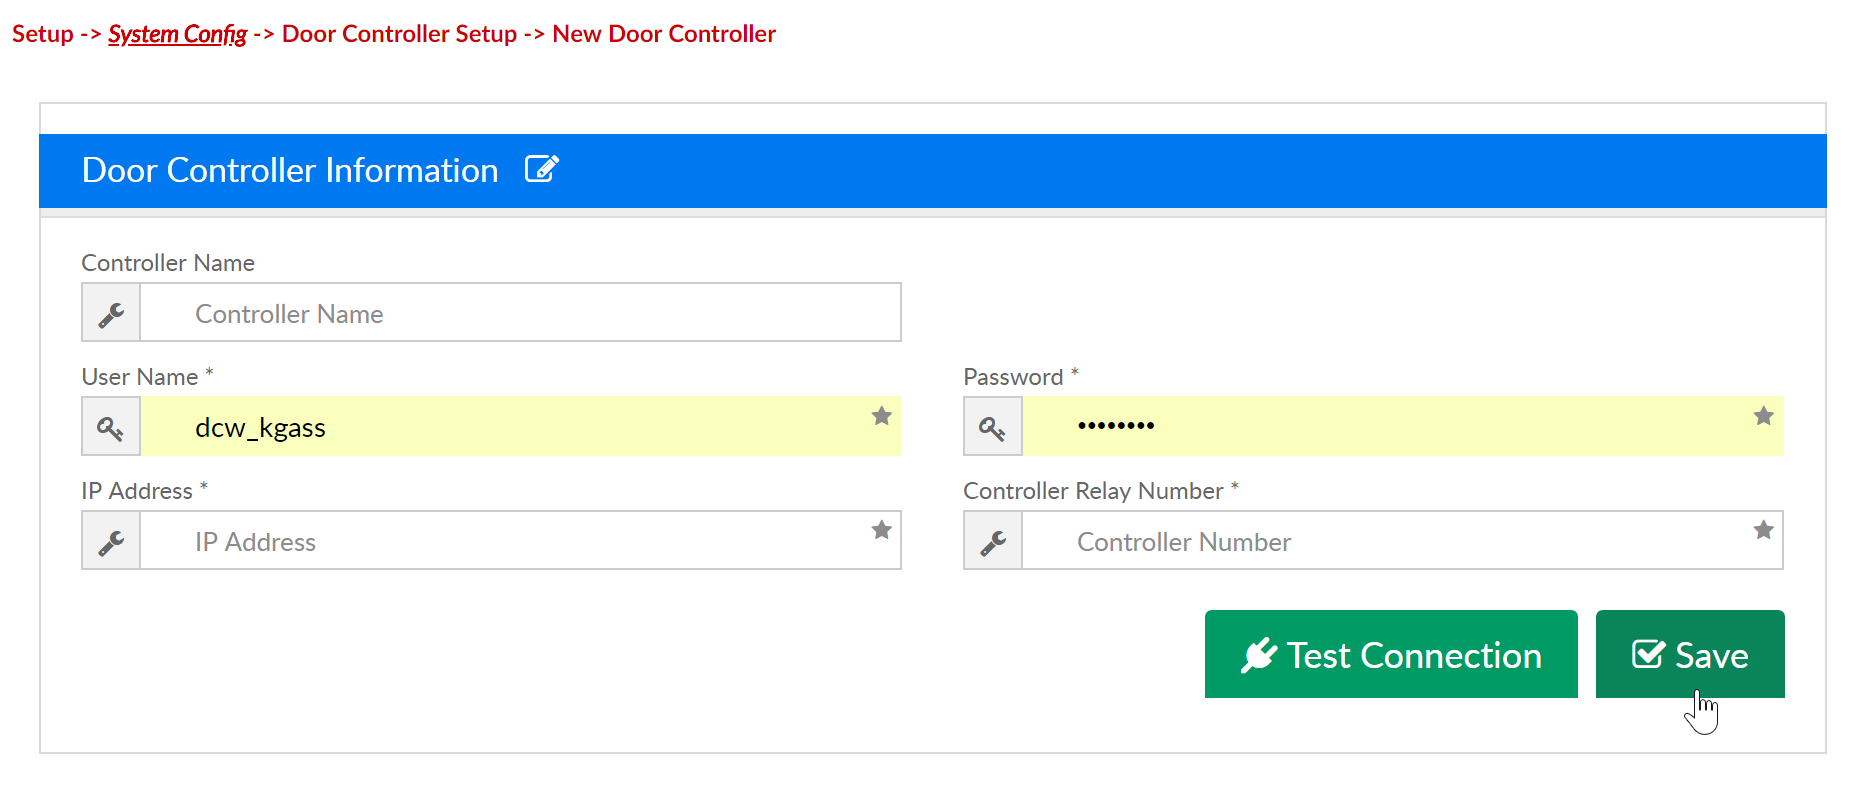
Select the Add New Door Controller Relay link-

Enter Door Controller detail, then press Save-
To Setup the Door Controller-
- Connect to the module’s website.
- Retrieve the site’s IP address, 192.168.1.22 (for example), and access it.
- For help, use this link (https://www.linortek.com/downloads/support-programming/) and download 'linortek discoverer' to assist in finding the module’s IP address.
- Take note of the 'IP address' as you will use it in 'InSite Check-In' application.
- Login with username and password. Username: admin, Password: admin
- Retrieve the site’s IP address, 192.168.1.22 (for example), and access it.
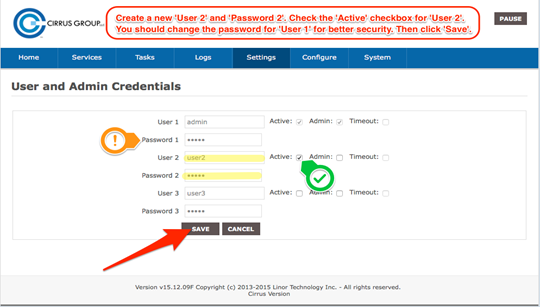
- Navigate to 'Settings' tab, then 'User and Admin Credentials'
- Create a username for 'User 2’.
- Create a password for 'Password 2’.
- Mark the ‘Active’ checkbox which corresponds to 'User 2’.
- Take note of this username/password as you will use it in 'Insite Check-In' application.
Note: Be sure to update the User 1 admin password, be sure to keep user ID’s and passwords secure to avoid any security threats.
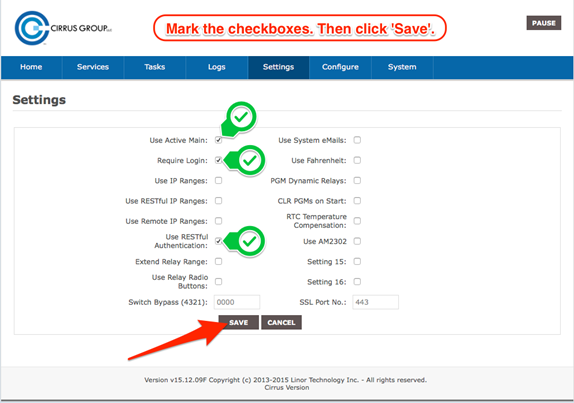
- Navigate to 'Settings' tab, then 'Settings'
- Find 'Use Active Main' and make sure it is checked.
- Find 'Require Login' and make sure it is checked.
- Find 'Use RESTful Authentication' and make sure it is checked.
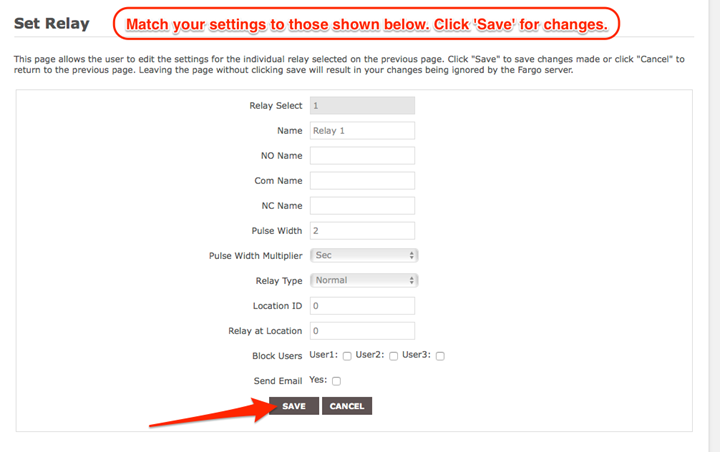
- Navigate to 'Services' tab, then 'In/Out'
- Take note of the relay number which is being used, as you will use it in 'InSite Check-In' app.

- Make sure settings match the below image:
- Click ‘Save’ is anything was changed/added.
For more information click here:
https://www.linortek.com/koda-100-ethernet-relay-controller/