The Payments > Third Party Refund Allocation screen is where users are able to associate a refund that has been setup with a specific balance on a child/family account.
This is typically the second step of the agency refund process, the first step is on the Payments > Add/Edit Third Party Refund screen.
Please Note: If a third party refund has been created, the user will automatically be directed to the Third Party Allocation screen.
Allocate a Refund
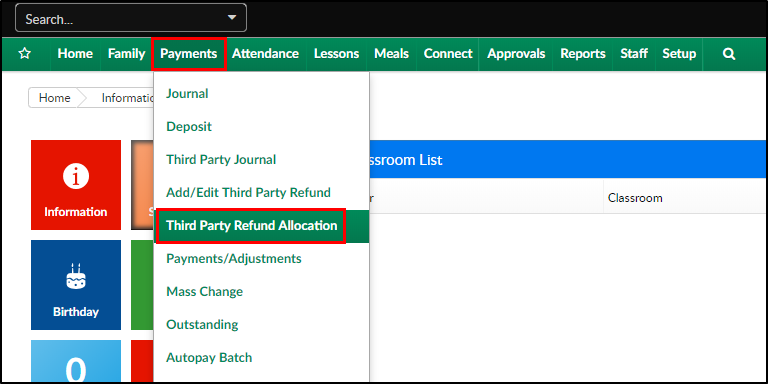
- Click Payments, then select Third Party Refund Allocation
- Agency - select the agency that requested the refund from the Agency drop-down

- Select Refund - choose the specific refund that was created on the Add/Edit Third Party Refund screen

- Once a Refund is selected, the Refund Search Criteria will populate based on the information added during the refund setup. This information can be changed if needed
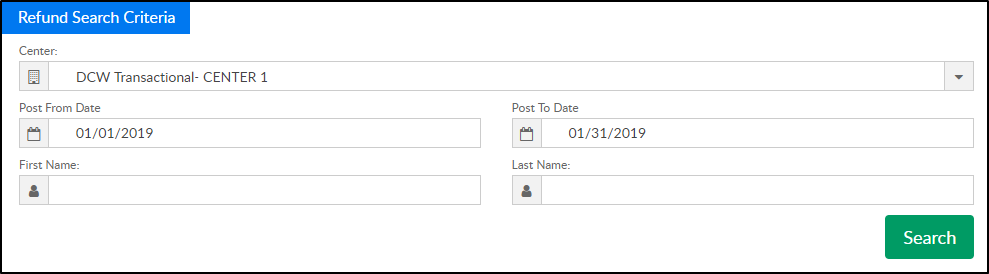
- Click Search. This will populate a list of families/students that match the search criteria under the Refunds section
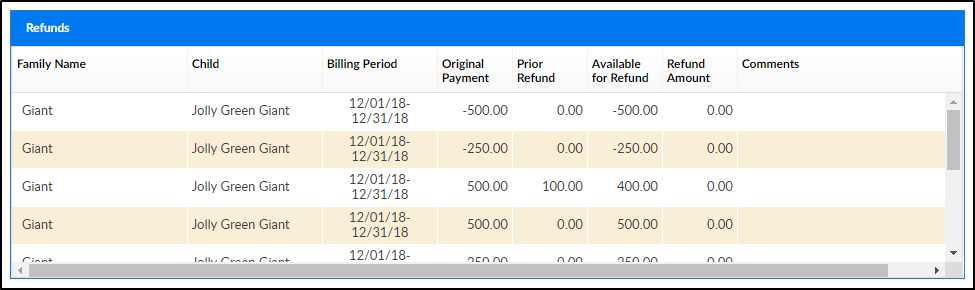
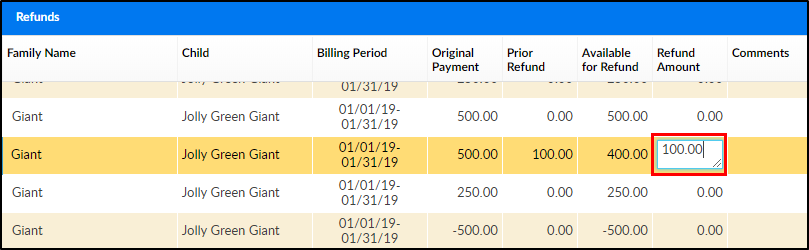
- To allocate a refund to a specific student, double click in the Refund Amount field. Please Note: different amounts can be allocated to different students. For example, if the total refund amount is $500, $100 can be allocated to 5 different students
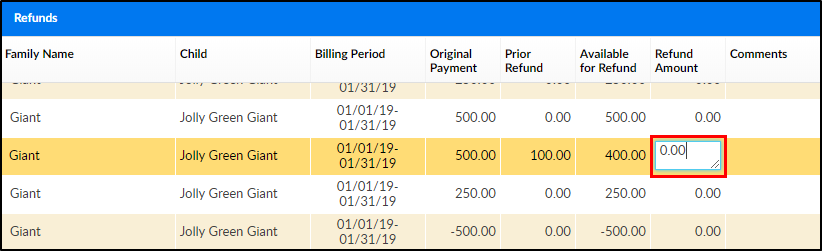
- This will open an editable field to enter the amount of the refund
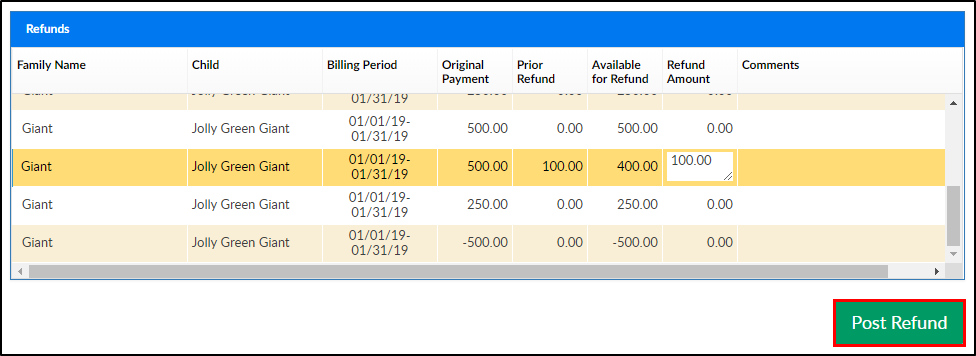
- Once the Refund Amounts equal the total refund amount, click Post Refund
- Click OK on the confirmation popup
- Click OK on the Post Refund confirmation popup


