Panini Check Scanner
Panini Check Scanners allow a center to accept and scan check payments. The scanners are used for remote deposit capture to send check payment information via MICR data, and the check image to the payment processor.
Important: The Panini Check Scanner is only available for use with specific payment processors. Contact your Account Manager for more information.
Scanner Setup
Once your check scanner is connected to the computer, to start scanning checks into SchoolCare Works, follow the steps below:
- Navigate to Setup > System Config, then select the Payments tile.
- On the Payment Configuration screen, scroll to the bottom and click View/Edit Check Scanner Settings.
- Locate the center being configured and double-click the Scanner Connection URL field.
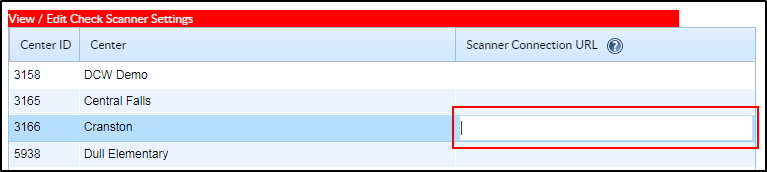
- Enter the IP address used to access the Panini setup page.
- Click Save Check Scanner Settings.
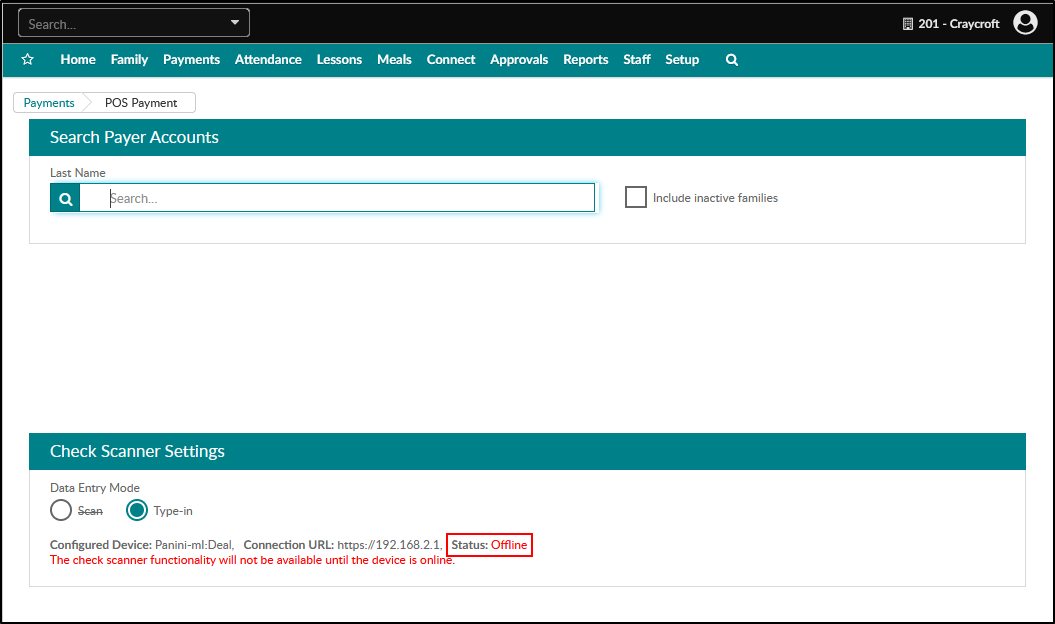
- Navigate to the Payments > POS Payment screen.
- If the scanner was detected, the status in the Check Scanner Settings section on the POS Payments screen will display "Online".


How to Scan a Check in SCW
- Navigate to the Payments > POS Payments screen.
- In the Check Scanner Settings section, select Scan in the Data Entry Mode field. (Important: this option will be disabled if the check scanner is not recognized.)
- Search for the payer by last name in the Last Name field.
- Most of the payer information will auto-populate. Fill in any missing fields.
- Click the Scan Check button to populate the Bank Routing, Account # and Check # fields. An image of the check will be displayed on the screen.
- Ensure the Payment Amount matches the amount written on the check.
- Click Make Payment to submit the payment.