How to Setup Rate Categories: Rate categories in the system allow rates to be automatically associated to children based on the child's age, center level or family's income.
This method is optional; however we recommend setting up rate categories. Rate categories should be setup prior to setting up rates in the system.
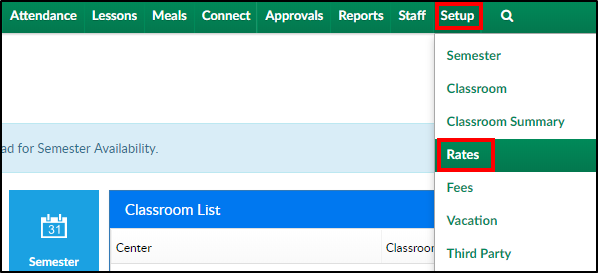
- Click Setup from the menu bar, then select Rates
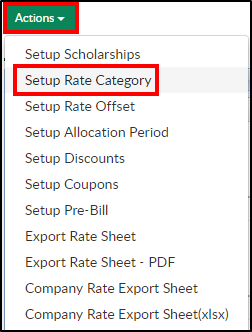
- Click Actions then select Setup Rate Category
- Description - enter the name of the new Category Rate
- Category Type
- Category - use this option when using Dynamic Rates
- Level - use when the category will be based on the county or accreditation of the center
- Income - use when the category will be based on the income of the family
- Accounting Group - this option is used when setting up Plan Options
- Age From/Age To (Months) - if there is an age range for the category, enter the age range in months
- Age From/Age To (Date) - for a rate category to be applied to students born between two dates, enter the start and end dates. Please Note: these dates may need to be updated on a yearly basis
- Income From/Income To - if the rate is for an income level, enter the starting and ending income levels for the family
- GL Code - enter the general ledger code assigned to the rate category
- Revenue Type (Billing) - select the Revenue Type from the drop-down. Please Note: these options must be setup in System Config > Valid Values
- Has Collapse Billing?
- Yes - combine all the student room charges into one line of the financial statement
- No - do not combine the room charges into one line of the financial statement
- Is Selectable?
- Yes - the Rate Category can be selected in the Classroom configuration screen
- No - the Rate Category cannot be selected in the Classroom configuration screen
- Use Dynamic Rate?
- Yes - dynamic rates should be used
- No - dynamic rates should not be used
- Click Save

