Lead Management allows centers to track potential family activity within the system before the family record is created.
View Current Leads
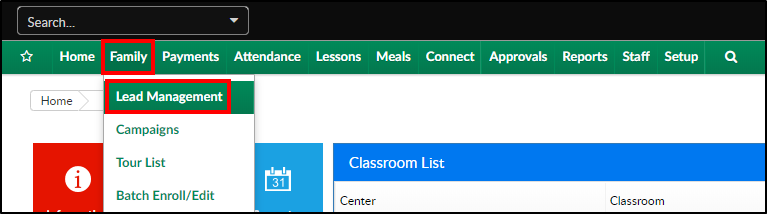
- Click Family, then select Lead Management
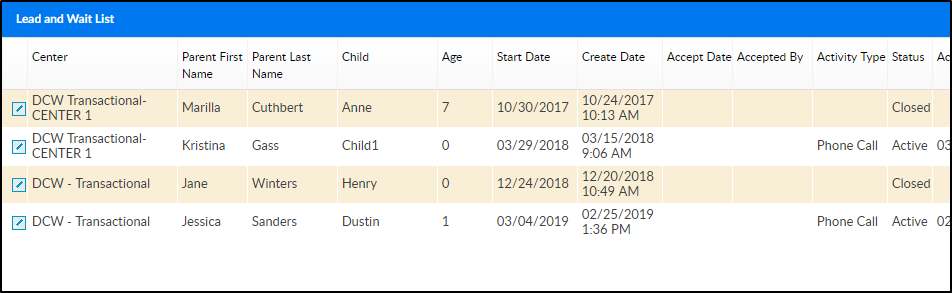
- All Pending families will display under the Lead and Wait List section
- To change the search criteria, click the Search Criteria drop-down

- Change the search filter in the Search Criteria window
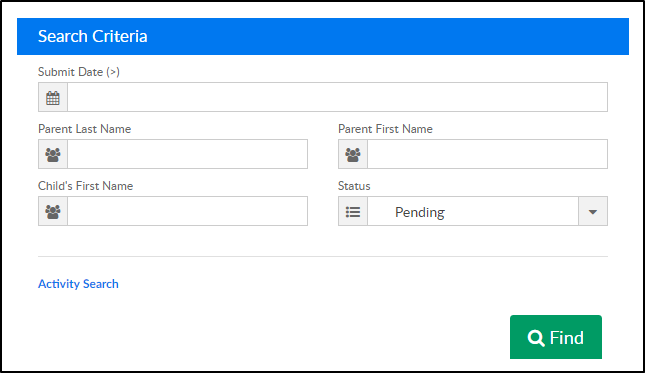
- Submit Date (>) - enter the date to search as of. For example, if 7/16/2018 is selected in the Submit Date field, results will display for 7/16/2018 until the present day
- Parent First/Last Name - enter the parent's first and/or last name
- Child's First Name - enter the student's first name
- Status - select a status
- Pending - student is not active and will not display in the family search results
- Approved - student has been approved to the system and will display in the family search results
- Rejected - the student's request for admittance has not been approved
- For a more advanced search, click Activity Search
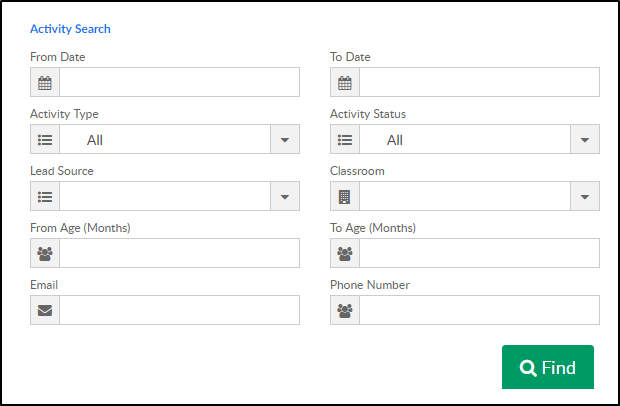
- From/To Date - enter a start date and/or end date for the activities
- Activity Type - select the activity type from the drop-down. (Setup in Valid Values under Activity Type)
- Activity Status - select the status of the activity
- Lead Source - select the source of the lead. Examples: email, expo, walk-in, etc. (Setup in Valid Values under Lead Source)
- Classroom - choose the classroom the student would be placed into, if approved
- Age From/To - to view all student's within a specific age, enter the to and from age in months
- Email - search by the parent's email address
- Phone Number - search by the parent's phone number
- Click Find
- To change the search criteria, click the Search Criteria drop-down


Editing Lead Information
To edit a family's lead record, follow the steps below
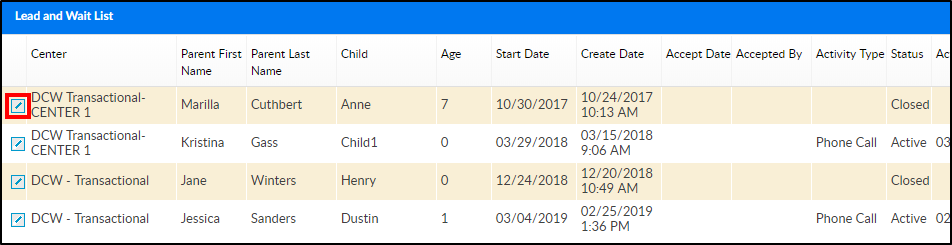
- Locate the family's name in the Lead and Wait List section
- Click the edit icon to the left of the Center/Parent First name
- Edit the necessary information
- Click Save at the bottom of the screen

Approve/Reject Student's
From the Lead Management screen, students can be approved or rejected into their requested program.
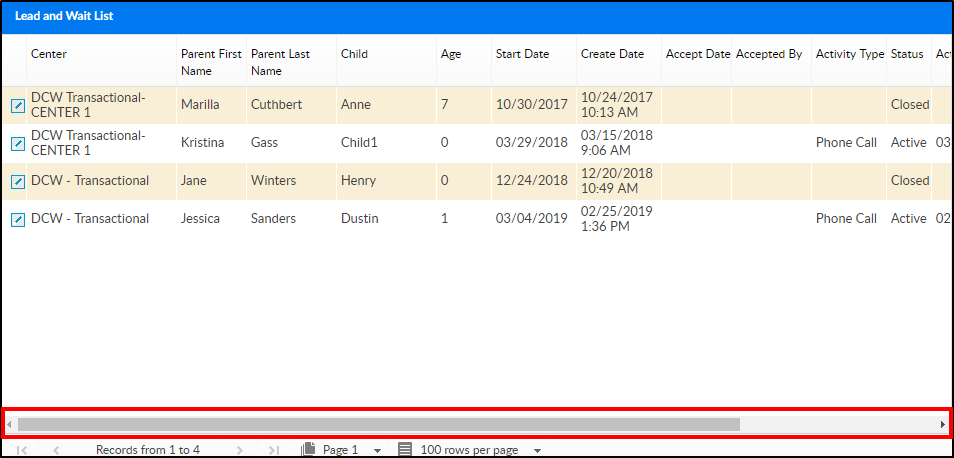
- Slide the scroll bar to the right
- Click Approve or Reject
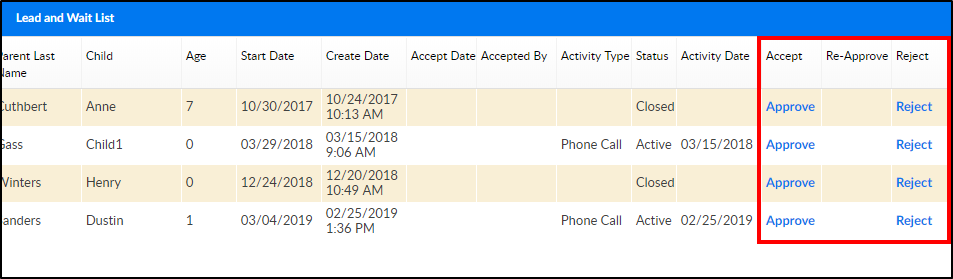
- Approve - a student/family record will be created
- Once approved, enter the Admission Date in the popup and click OK. A student/family record has now been created
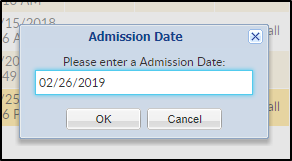
- Once approved, enter the Admission Date in the popup and click OK. A student/family record has now been created
- Reject - the lead will be denied and a student record will not be created
- Approve - a student/family record will be created


Actions Menu
There are several options in the Actions drop-down menu:
- View Denied Children Information - displays two sections; Denied Students List and Denied Students List - Discharged
- Add New Lead - allows an admin to manually add a lead
- Export - exports the information displayed in the Lead and Wait List section into a 37 column Excel spreadsheet

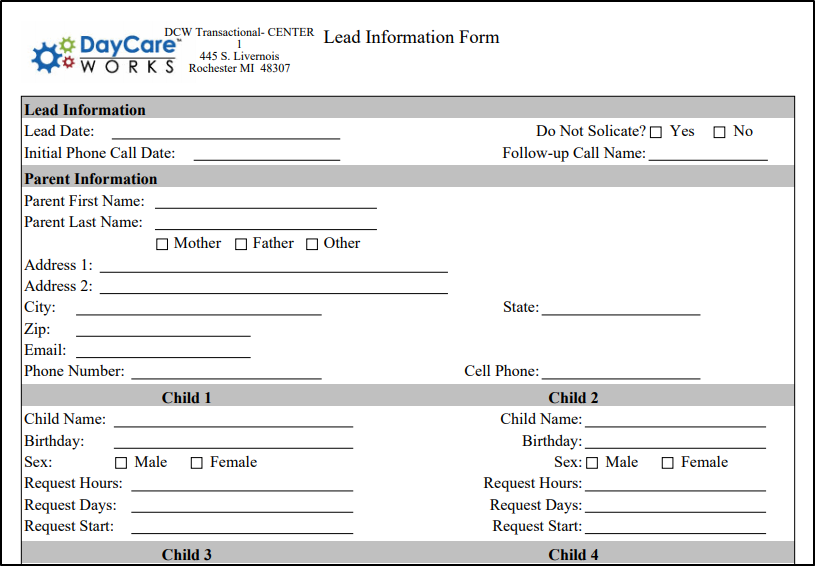
- Blank Lead Information Form - opens a blank Lead Information Form as a PDF
- Lead Activity Summary - exports lead activities to Excel. This export includes the following tabs: Activity Summary, Activity Chart, Totals Chart, Hear About Us, Hear About Us Chart
- View Calendar - displays a calendar view of all events. View by day, week, month and filter by activity type. A Calendar Event can also be added from this page

