The Attendance > Entry screen allows users to check students or staff in, edit attendance records, and review historical check-ins/outs by day.
Edit/View Attendance
To take, edit, or view attendance, follow the steps below:
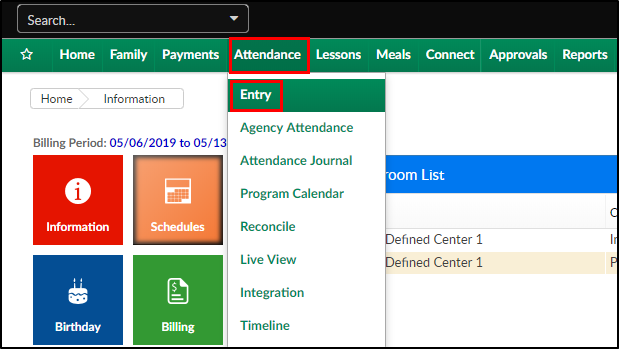
- Click Attendance, then select Entry
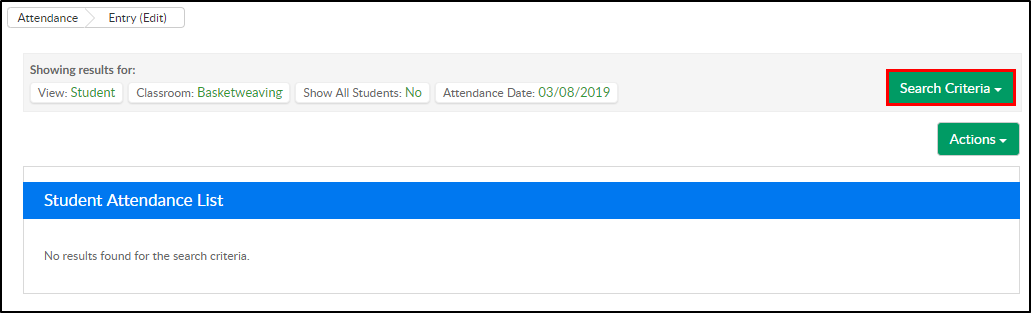
- Click the Search Criteria button
- Select the necessary search criteria
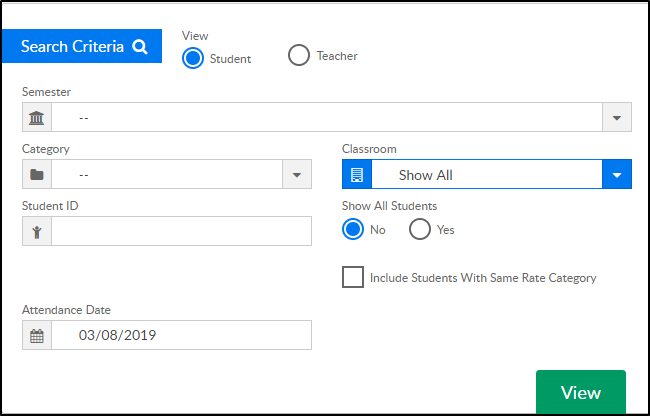
- Select to view Students or Teachers
- Semester - choose a semester from the drop-down
- Category - select a category to pull all students within a category, not just a program
- Classroom - select a specific room from the drop-down
- Student ID - enter a student ID to pull just one student's attendance detail for the selected day
- Include Students With Same Rate Category - see all students within a rate category. The default for this option can be changed in the System Config > Extended screen
- Attendance Date - select a date to view/edit attendance
- Click View
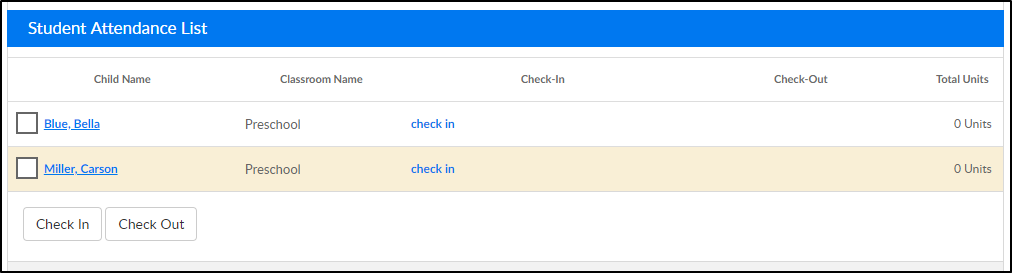
- A list of students will display in the Student Attendance List. The next step will depend on if the user is in Normal Mode or Edit Mode, see section below


Normal/Edit Mode
The system offers different methods for administrators to record attendance for the center. To switch between attendance modes select the Actions drop-down menu, then select the "Switch To" option.
- Normal Mode allows admins to check a student in/out of a center in real time; a past time cannot be entered. This option is similar to using the InSite Provider application to check a student in/out
- Edit Mode allows admins to enter past or present check in/out times


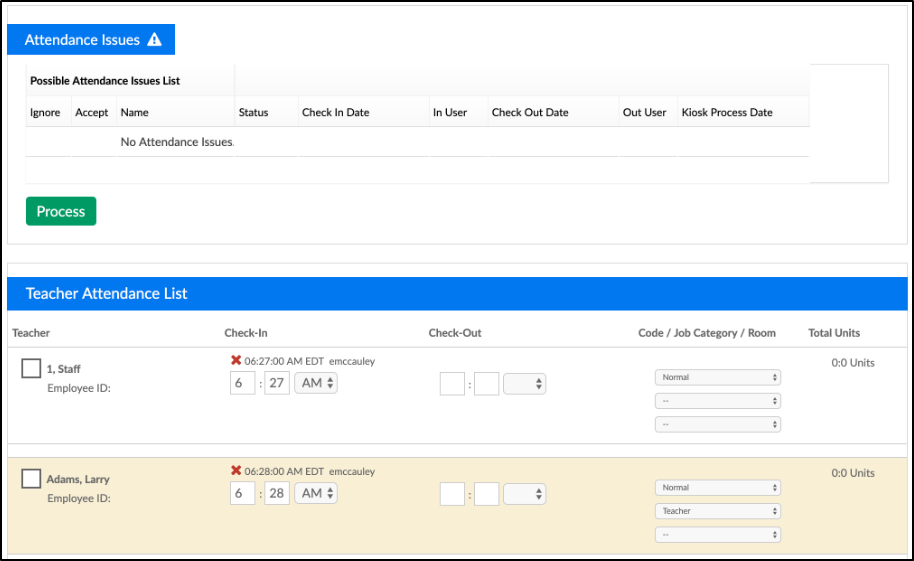
Checking In Student(s) in Edit Mode
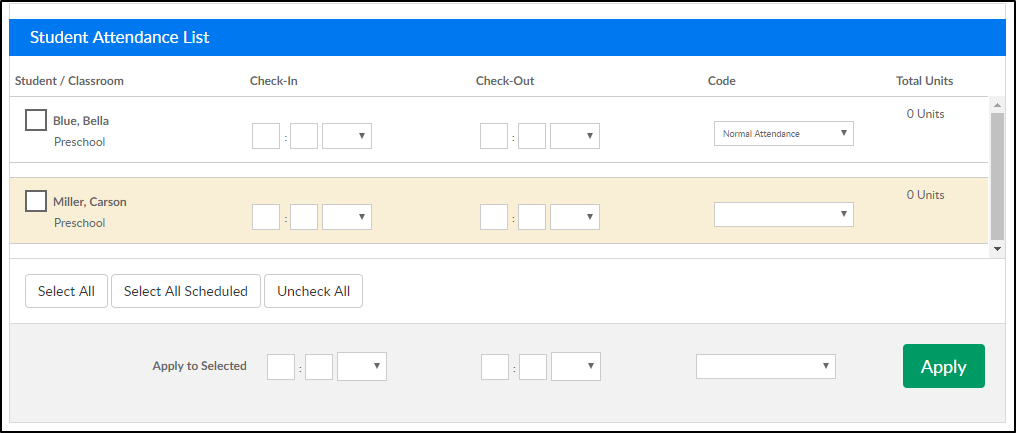
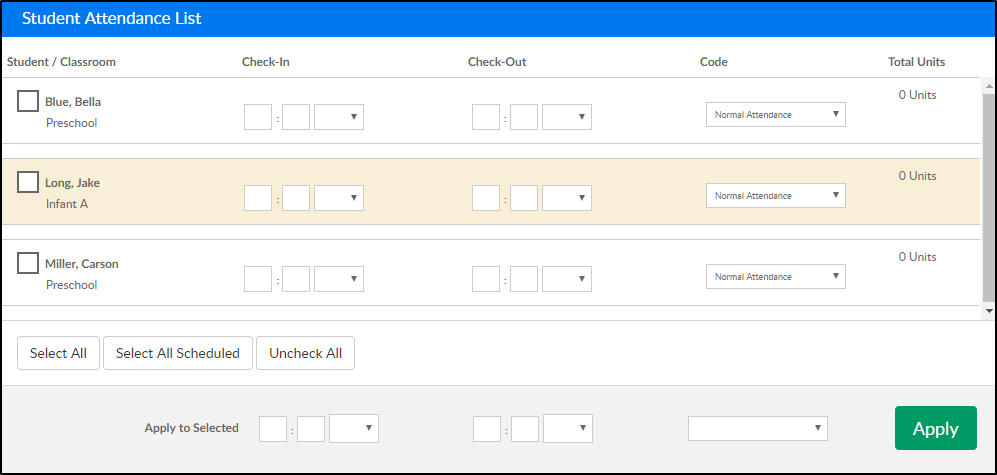
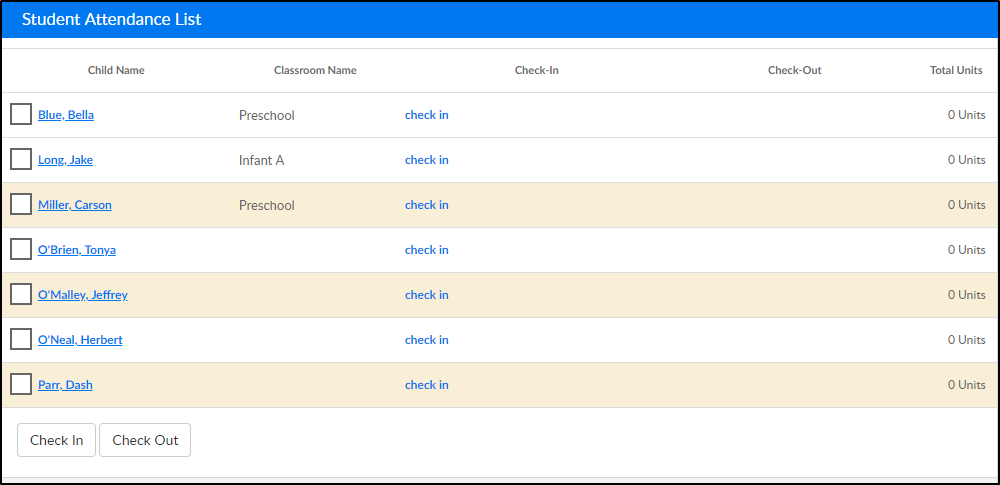
- The students that match the selected search criteria will display in the Student Attendance List
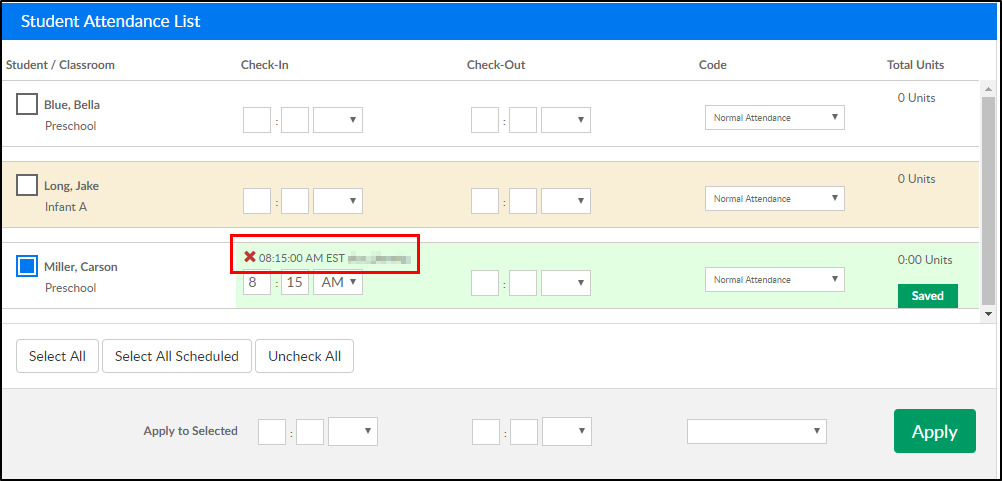
- Enter the check in/out time for each student as needed. As times are entered, push tab to go to the next field. After pushing tab, the times are saved automatically and the username of the admin who entered the time, will display above each time
- To edit the times, enter a new time in the check in/out fields and it will override the previously entered time
- To delete a time, click the red X
- Multiple student check in/out options
- Mark each student by clicking the square to the left of their names. When the square is blue, they are selected
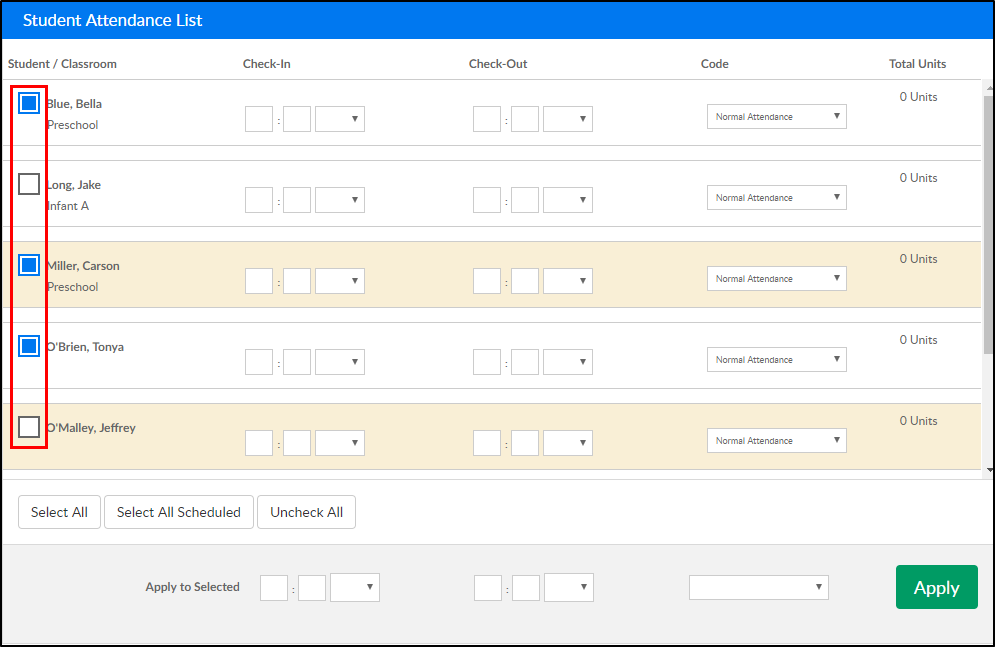
- Use the Select All option - this will select all the students on the list
- Use the Select All Scheduled option - this will select only the students on the list with a schedule in the system for the current day
- Mark each student by clicking the square to the left of their names. When the square is blue, they are selected
- Enter the times in the Check In and Check Out columns, and select the code. Codes can be setup in Valid Values under Student Attendance Code

- Click Apply to apply the times and code to all selected students


Checking In Student(s) in Normal Mode
- The students that match the selected search criteria will display in the Student Attendance List
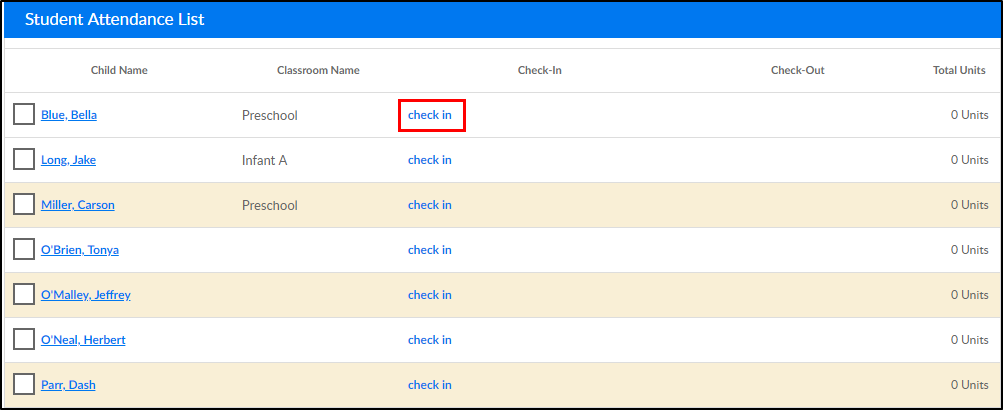
- Click Check In next to each student as they arrive in real time, or to check in multiple students, follow the steps below
- Select each student by clicking the white square; when the square is blue, the students are selected
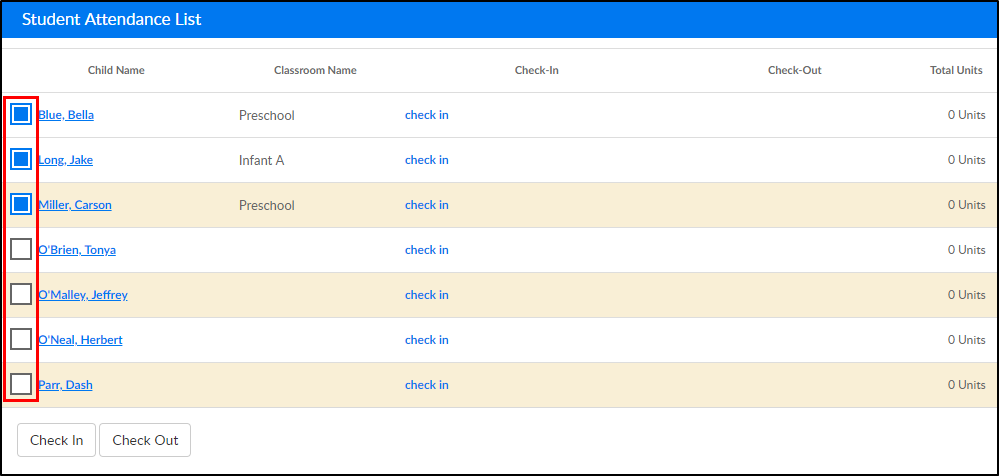
- Click Check In/Check Out to add the attendance to the selected students

- Select each student by clicking the white square; when the square is blue, the students are selected


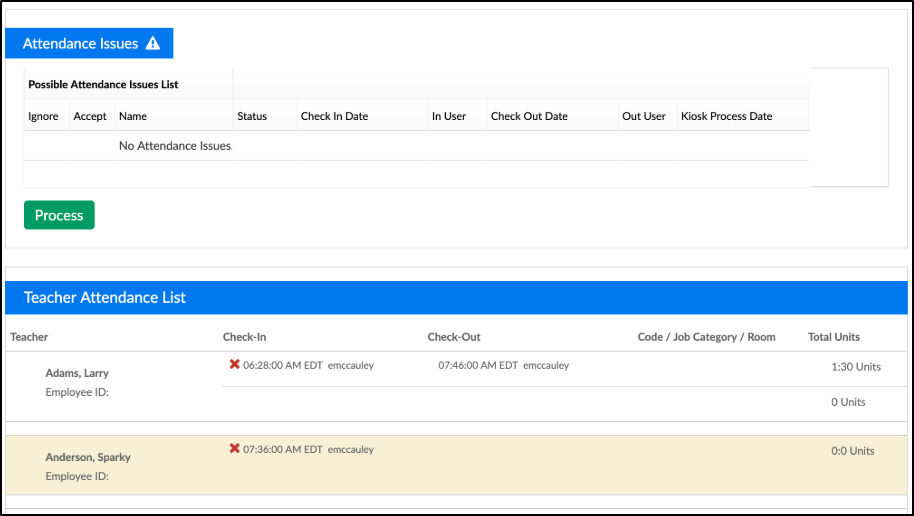
Staff Attendance
If attempting to add/edit staff attendance for a previous day, and the following error message is received, there is a setting on the System Config > Extended screen that determines whether or not staff can add/edit time in the past.

The setting that determines this ability is: Allow Editing Prior to Current Date
- Yes - administrators are able to add/edit check in/out times for staff members any day
- No - administrators can only edit/add check in/out times for staff members on the current day, not a day in the past
Read Only/Edit for Staff Attendance
Activity ID 1690 on the Setup Roles screen determines if administrators are able to edit attendance times for teachers.
- If Read Only is selected:
- If All Permissions is selected:


Helpful Reports
To see attendance over a period of time go to reports > room/program and pull one of the below reports- be sure you enter a date range and select the data you want to see by center, category or room!
- Reports > Room/Program, Attendance - Child Attendance Detail - Excel
- Reports > Room/Program, Attendance - Site Summary Attendance - Excel