The Documents screen allows user to add generic documents for parents to access from the parent portal.
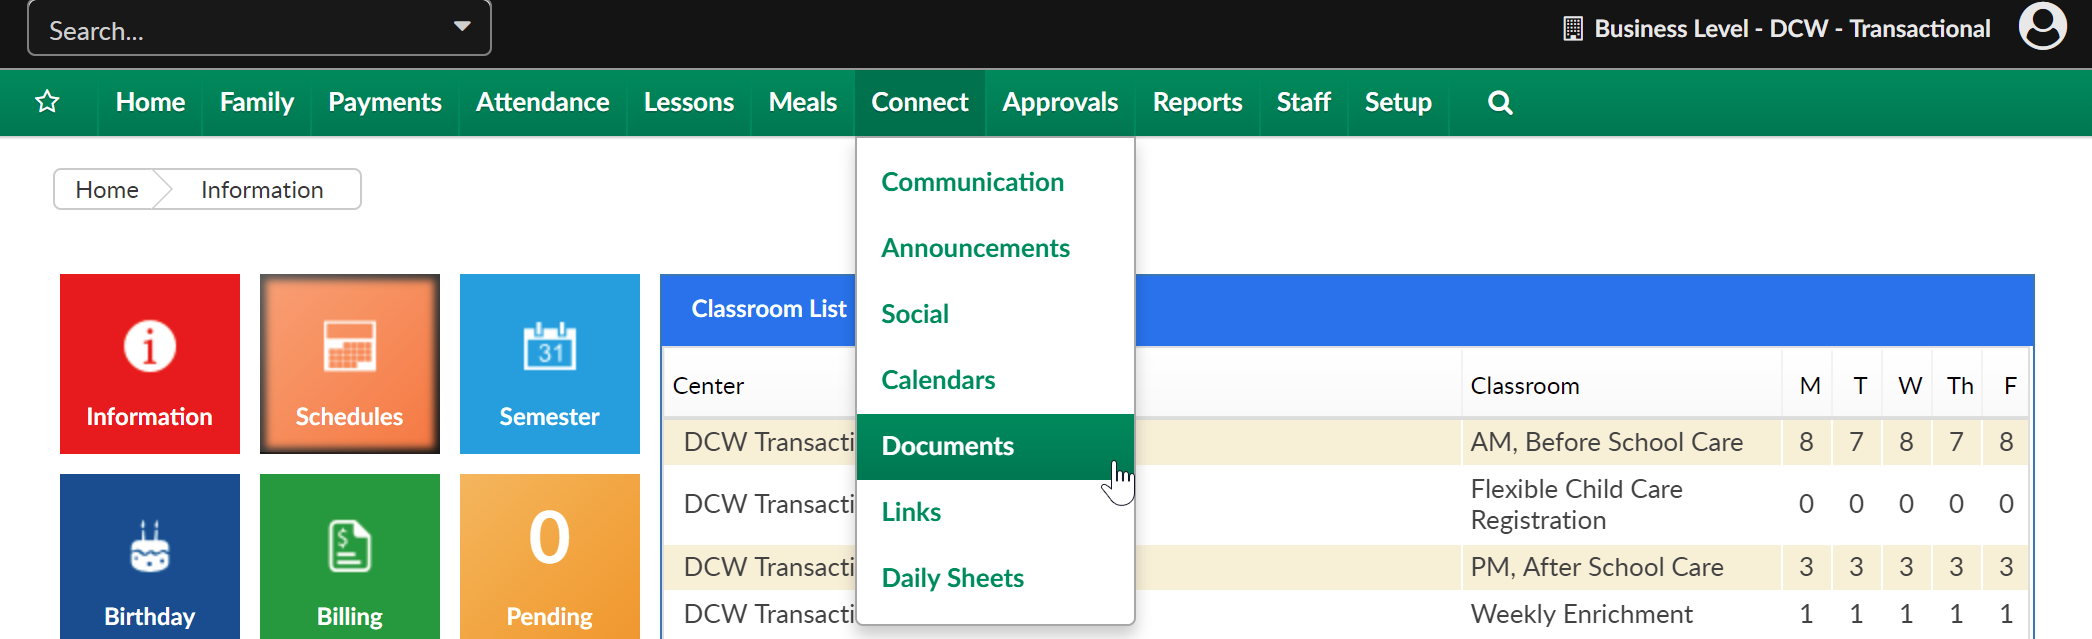
From the Connect menu, select the Documents option.
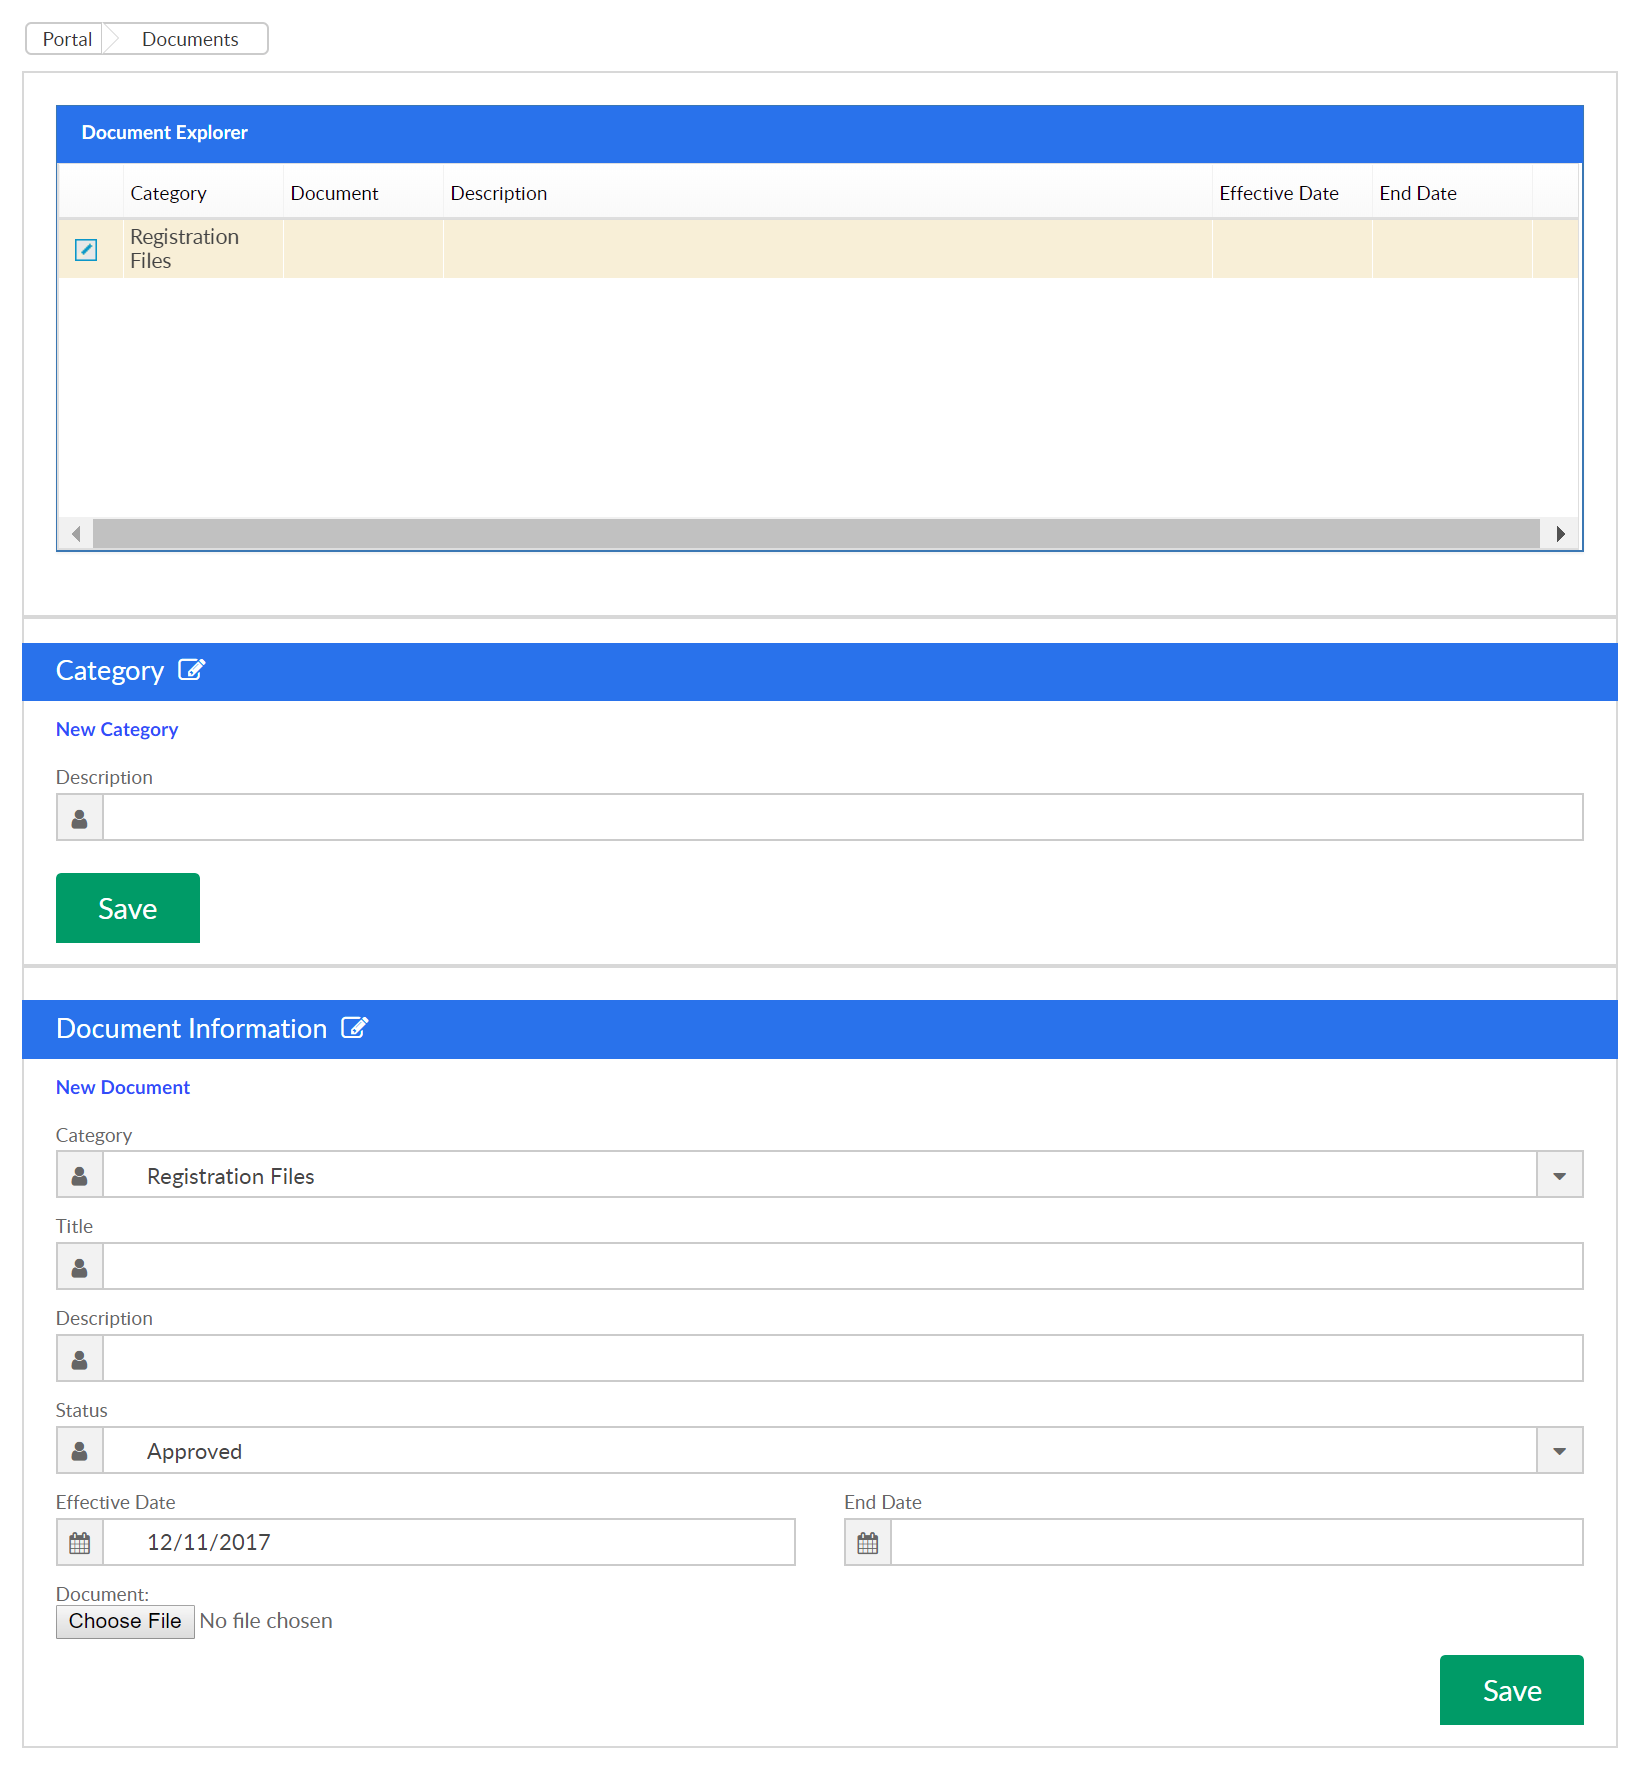
On the Documents screen, the first section will display categories that have already been added to the system. This will help users to group documents for parents.
To add a new Category, select the New Category option, type the category name in the Description box- then press Save.
The third section of the screen will allow users to upload documents (in PDF or Word format).
- Select a category
- Add a title
- Add a description
- Select a Status
- Enter an Effective and End date - Please note: Both of these fields are required for the documents to be viewable by parents via the parent portal
- Choose the document from a computer or drive location
- Press Save
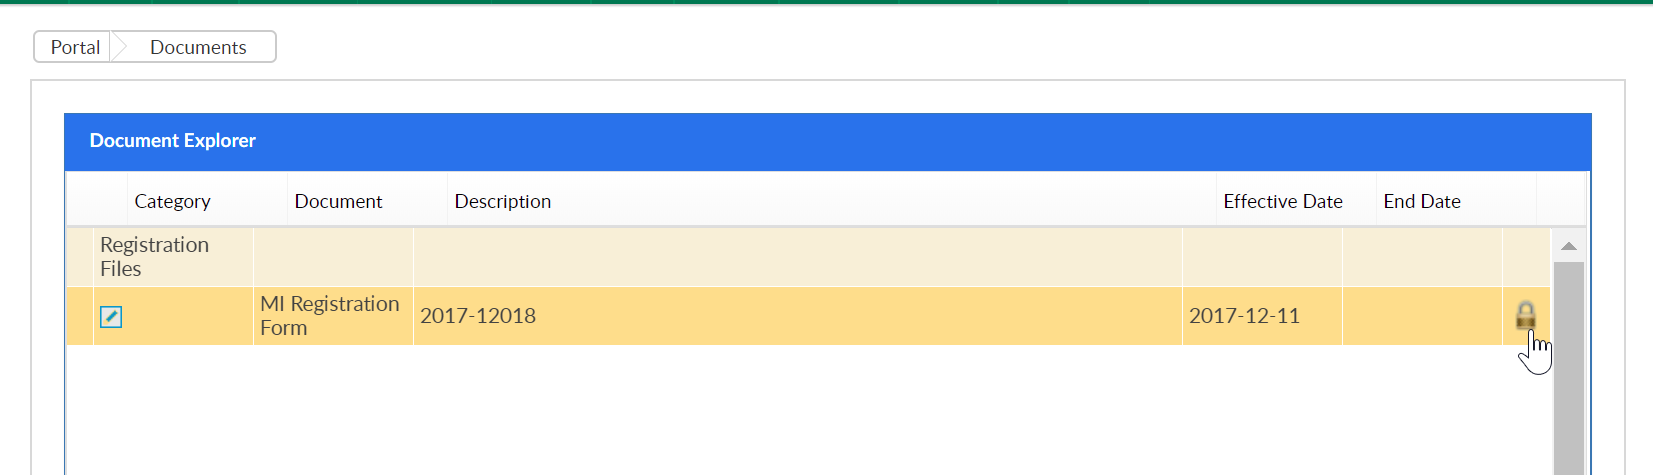
As soon as documents have been uploaded they will be available for parents to see on the Parent Portal in the Communication tab.
Sites can also choose to restrict access to certain documents by selecting the lock icon on the document's line-
Select the Center or State that should be able to see the document- then press Save. Only sites that meet this criteria will display the document on the parent portal.
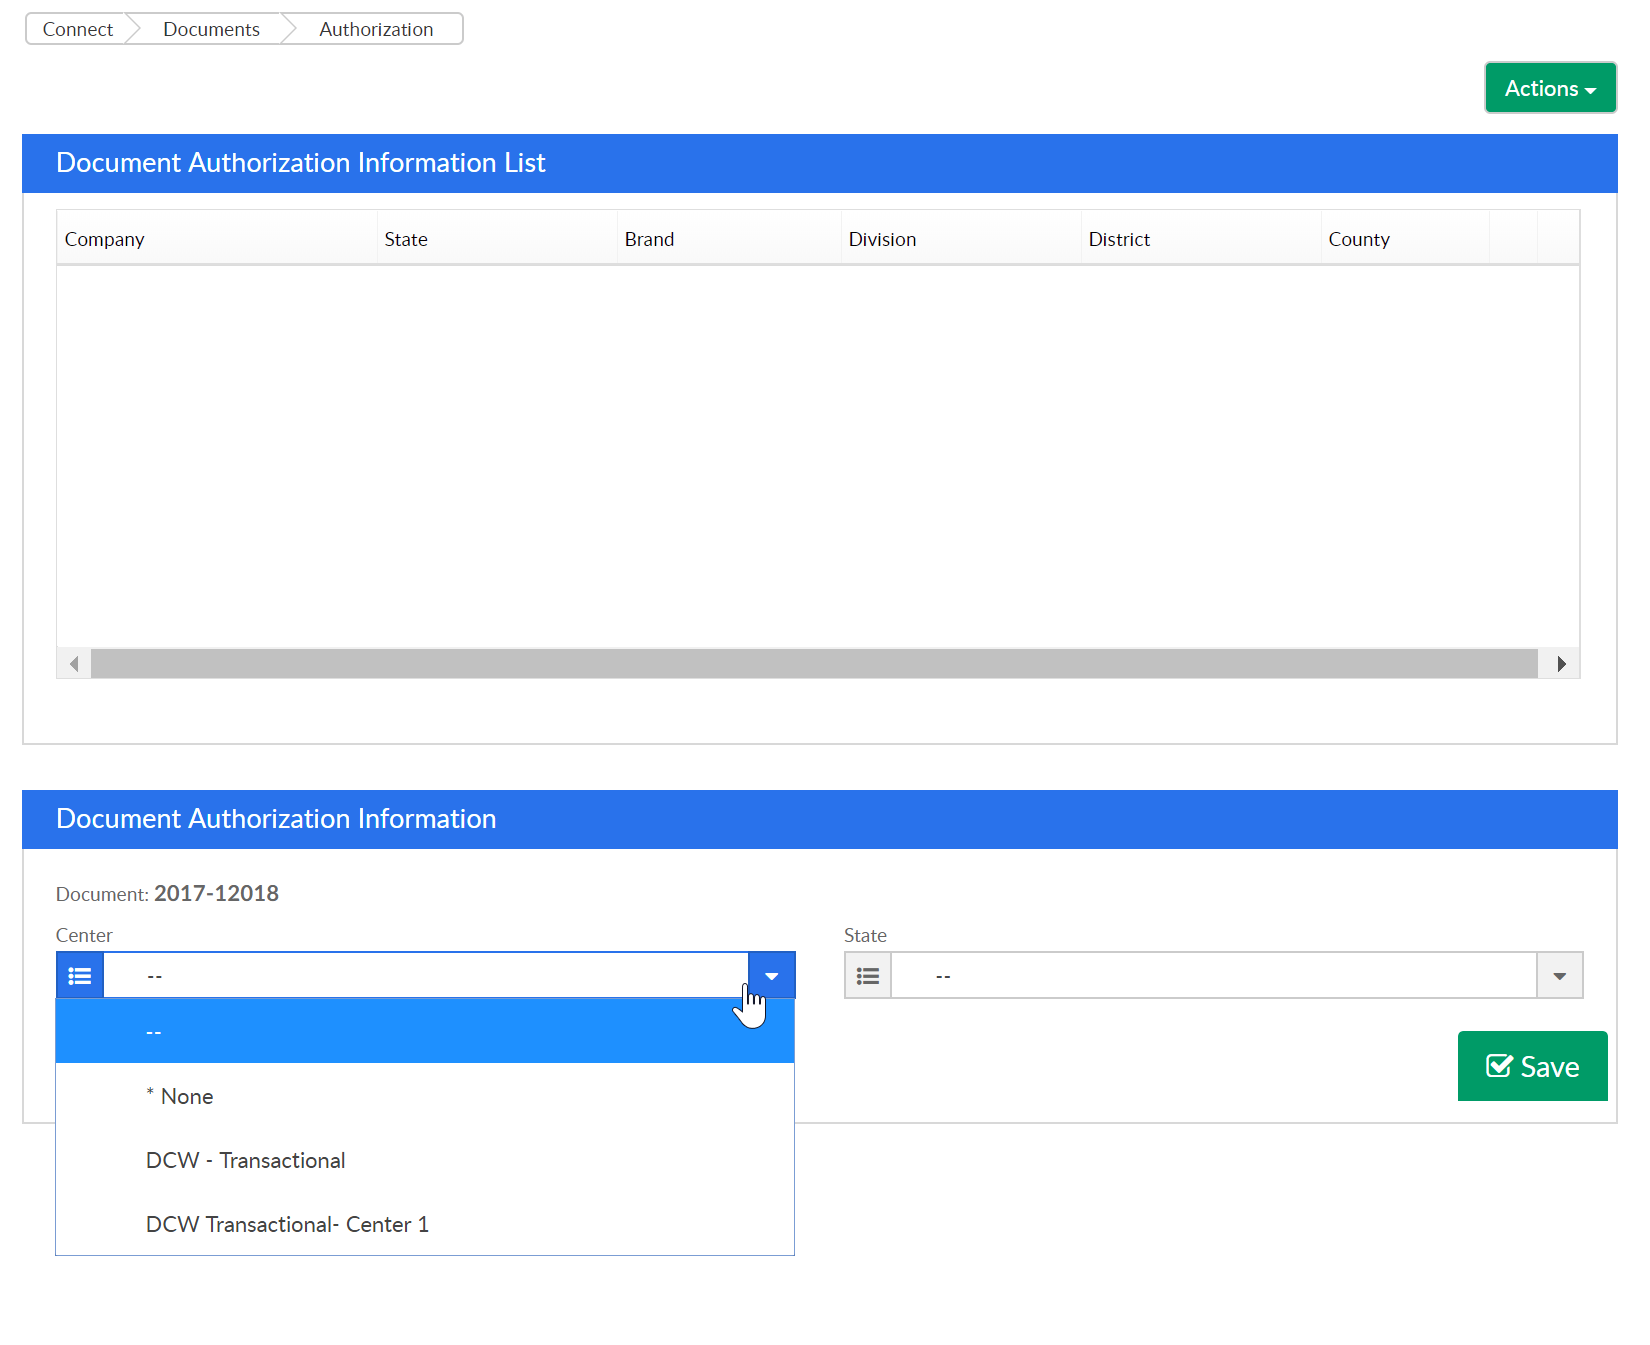
To edit an authorization press the green square, to delete- press the red x.
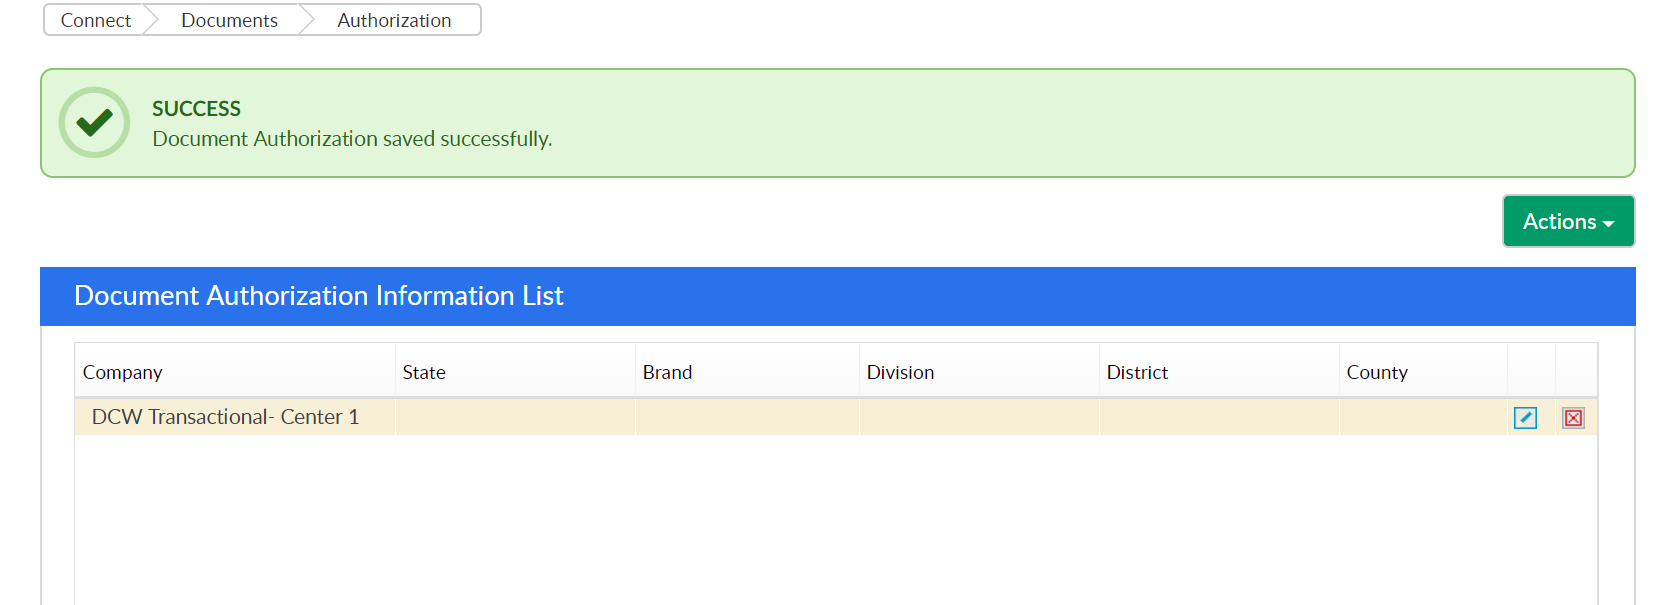
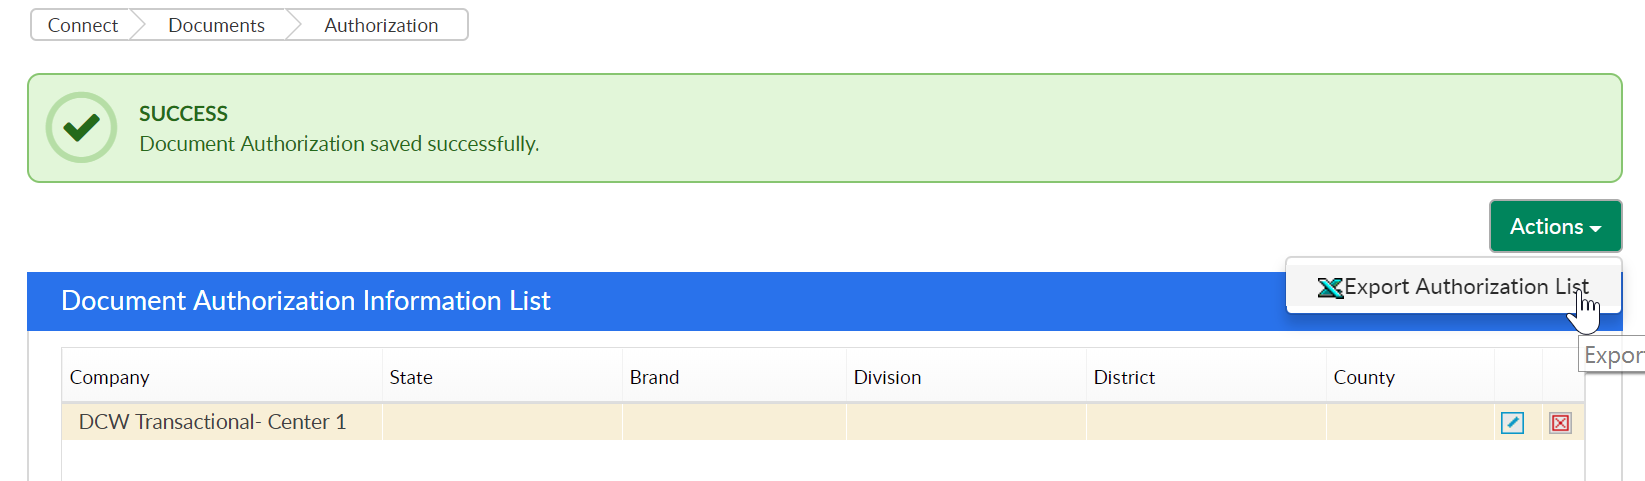
Press the Actions button and select the option to Export Authorization List to see the list of authorized sites or states in excel format.
Note: If your site has brands, districts or divisions additional fields will display.