The Documents/Checklist screen from the Children tab allows users to upload student-specific documents into the system. Administrators can create a list of required documents for students meeting certain criteria, such as the center they attend, age or grade of the student, etc.
For document setup instructions, click here
Viewing Required/Uploaded Documents Per Student
To view documents previously uploaded or uploads required for a student, follow the steps below:
- Navigate to a family’s record and click the Children tab

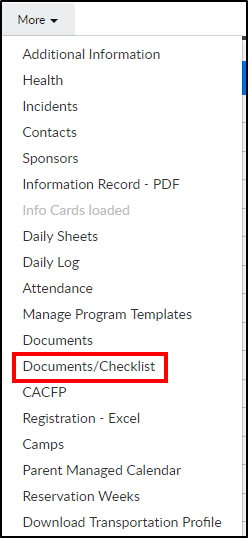
- Click the More tab
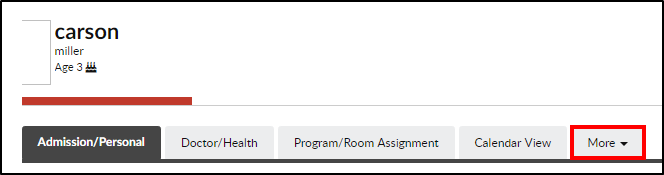
- Select Documents/Checklist from the drop-down menu
- The Document List section will show required and previously uploaded documents for the selected student
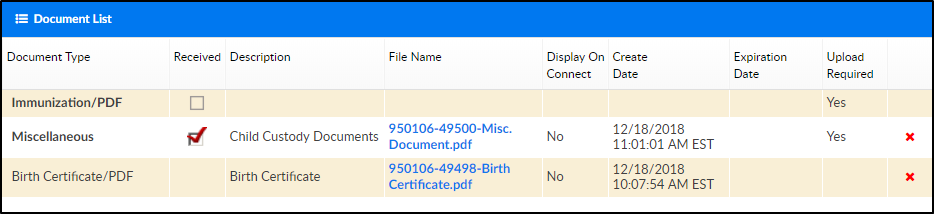
- Document Type – the type of document selected from a drop-down list
- Received

- Description – the description field is a free text field to enter the name or a description of the document
- File Name – the file name is the name of the document uploaded. The system will automatically place the student’s ID and a document ID in front of the document name. In the below example, the student’s ID is 950106, the document ID is 49500, and the file name uploaded was “Misc. Document”
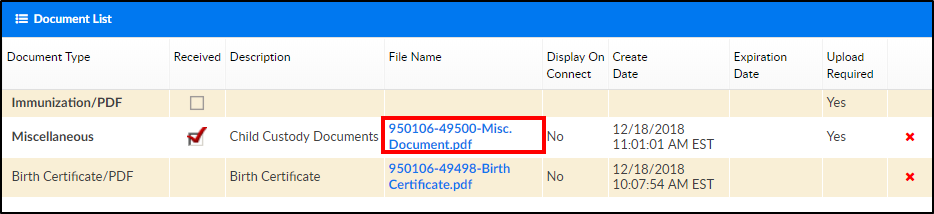
- Display on Connect
- Yes - the document should be available for parents to view via the Connect (Parent) Portal
- No – the document should not be viewable from Connect
- Create Date – the date and time the document was uploaded
- Expiration Date – if the document expires, the expiration date will be in this field
- Upload Required
- Yes - a document is required to be uploaded
- No – no upload is required


Uploading a Document to a Student’s Record
To upload a document to a student's record, follow the steps below:
- To upload a new document, navigate to the family’s record and select the Children Tab

- Click the More tab and select Documents/Checklist from the drop-down menu

- Complete the Add Document section
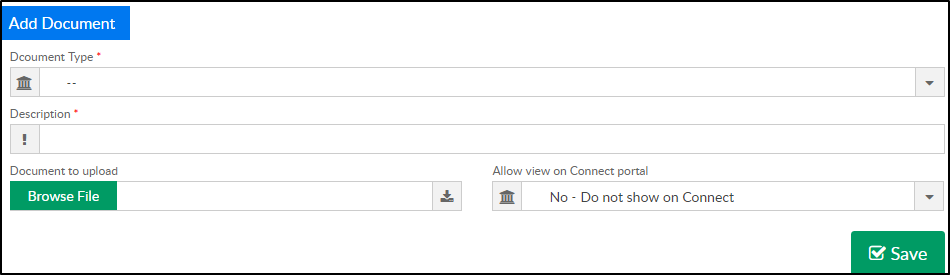
- Document Type – choose from the drop-down menu
- Description – enter a description or name of the document
- Document to Upload – click into the Browse File field to search and select the document to upload from the computer
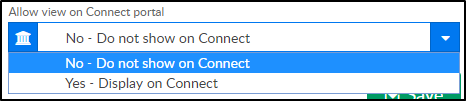
- Allow View on Connect Portal
- No – Do no show on Connect – parents are unable to see the uploaded document on the Parent Portal
- Yes – Display on Connect – this option will allow parents to see the uploaded document on the Parent Portal
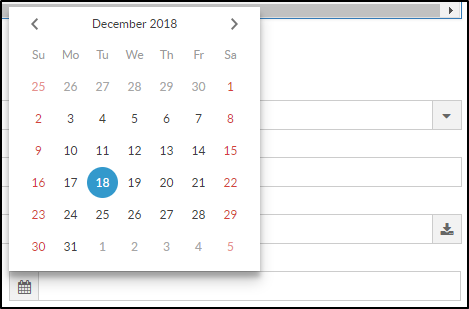
- Expiration Date – if the document expires or needs to be updated annually, semi-annually, etc., select the date from the calendar
- Click Save
- A confirmation popup will appear, click OK