Adding an Activity
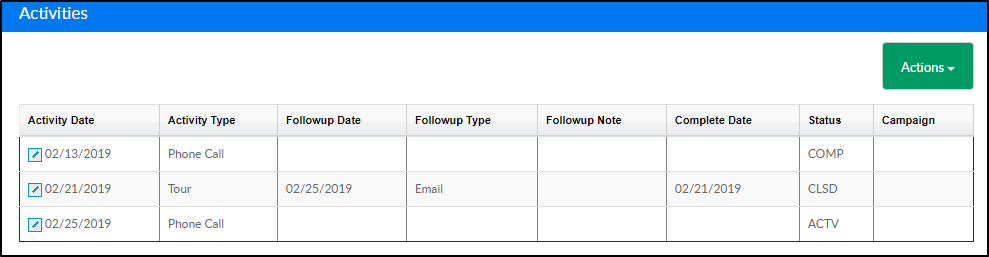
Once a family has been added and saved on the Lead Management page, an Activity section will appear. Activities allow users to track interactions with families prior to a student being accepted into the center. To add a new activity, follow the steps below:
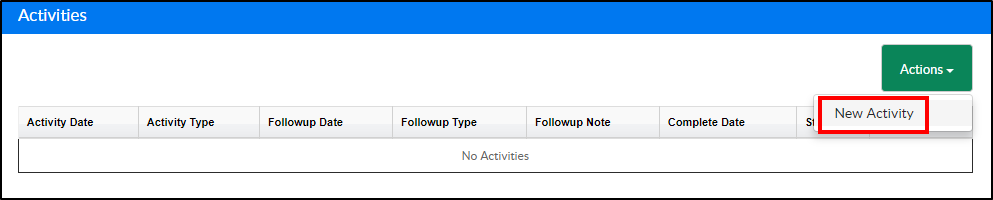
- Click Actions under the Activities section
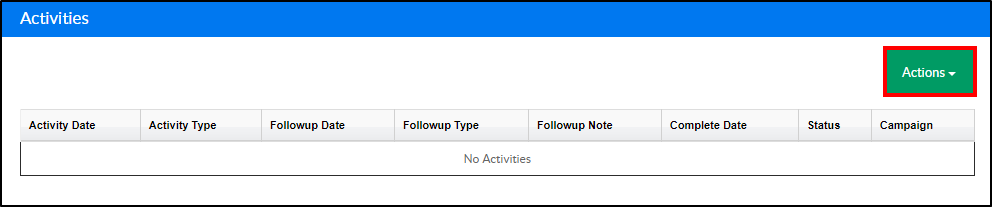
- Select New Activity
- Under the Lead Activity section, use the Status drop-down and select a status

- Active - the activity is currently active
- Closed - the activity is closed
- Complete - the activity has been completed
- Complete the Activity section
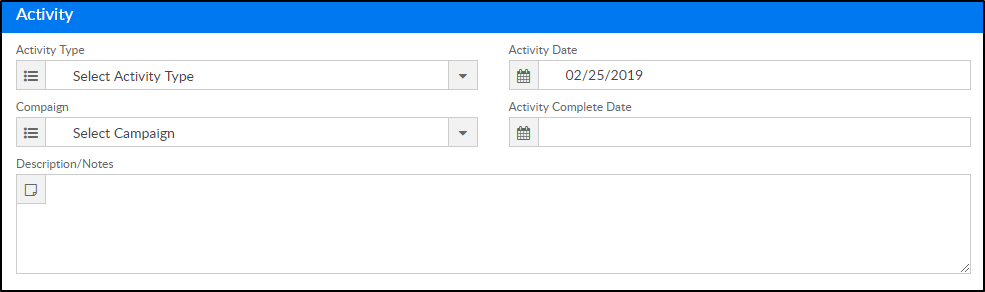
- Activity Type - select the type of activity (setup in Valid Values under Activity Type)
- Activity Date - select the date of the activity
- Campaign - select the campaign (setup in Valid Values under Campaign Type)
- Activity Complete Date - if there is a date the activity was completed, select from the calendar
- Description/Notes - enter a description of the activity or any necessary notes
- Enter the Follow-up details
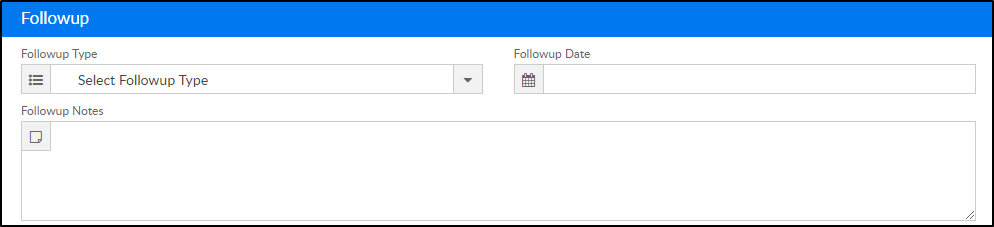
- Follow-up Type - select the follow-up type (setup in Valid Values under Followup Type)
- Follow-up Date - select the date to follow-up with the guardian
- Follow-up Notes - enter any follow-up notes necessary
- Click Save. All added activities will appear in the Activities section


Adding a Calendar Event
Calendar events, such as a phone call or tour, can be added to a lead. Follow the steps below to add a calendar event to a family:
- Locate the Calendar Events section and click Actions
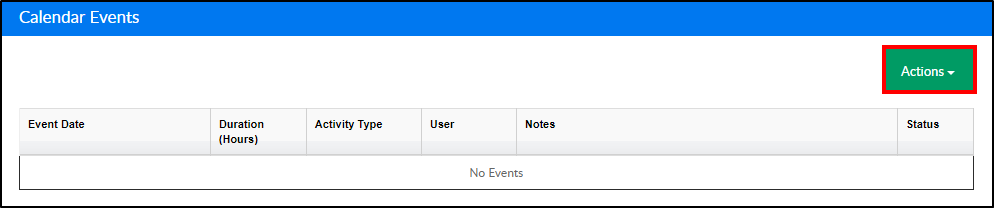
- Select New Calendar Event

- Ensure the information in the Lead Calendar Event section is correct. This information automatically populates based on what was entered when creating the lead

- Complete the Calendar Event section
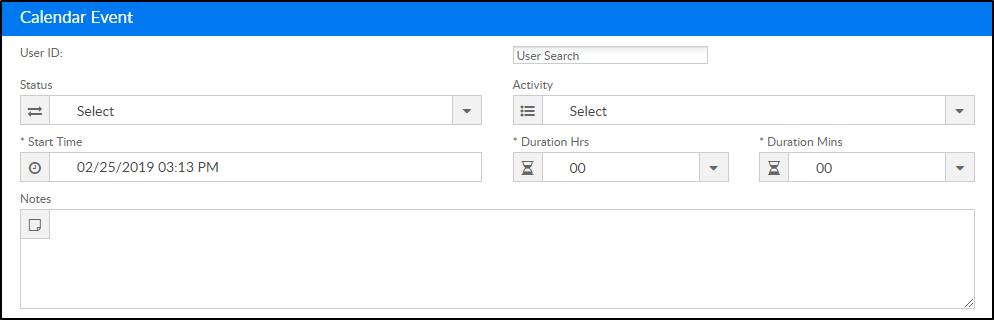
- User ID
- User Search - search and select the name of the user assigned to the calendar event
- Status - select if the status is Active or Completed (these options are setup in Valid Values under Lead Calendar Status)
- Activity - select the activity from the drop-down (setup options for this in Valid Values under Activity Type)
- Start Time - enter the start time of the event
- Duration Hrs/Mins - select how long the event will last in hours and minutes
- Notes - enter any notes regarding the calendar event
- Click Save to complete the creation of the calendar event


