The system has the ability to add students to a Wait List for many reasons, see instructions and scenarios below:
Wait List Room Settings
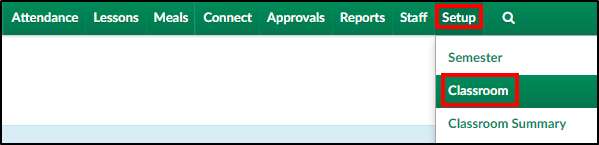
- To enable the wait list on a room, click Setup from the menu, then select Classroom
- Click the classroom name
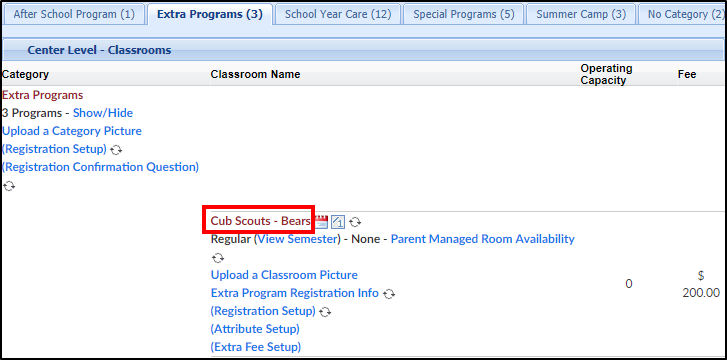
- Locate the following fields:
- Operating Capacity - enter the total spaces available before students are added into the wait list, if applicable. Please Note: for an unlimited capacity, enter zero
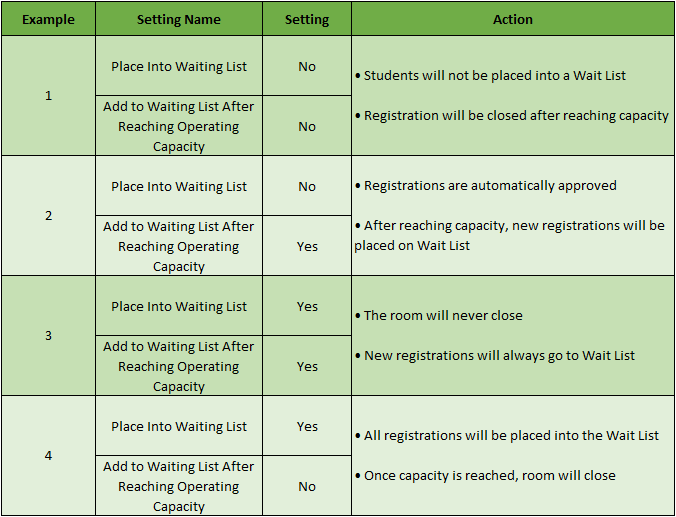
- Place Into Waiting List
- Yes - this option will place all student registrations into the wait list, no matter the capacity. Administrators will have to manually approve all registrations into this room
- No - students will be added into the room and not placed on the wait list
- Add to Waiting List After Reaching Operating Capacity
- Yes - once room capacity has been reached, all new student registrations will be placed on the wait list for approval
- No - once capacity is reached, the room will close


Scenarios
Wait List Facts
Things to note about this process-
- The registration fee will be charged and require payment upon registration, unless the Pay First before accepting Registration field is set to No

- Parents will receive the same notifications they would normally receive for registering. This means a site may want to include verbiage to have parents confirm their program assignments by signing into the portal and going to the Attendance tab
- The capacity will display as the total number on the waiting list / total capacity. This means that on the wait list tile, when approving, it may look like more students are associated to the program than have actually been approved. To see a full, complete list of children registered for a program/semester go to reports > room/program, then pull the student schedule summary- select the center/category/room based on the data that should be displayed in the report
