Billing can be created from the business level or center level. There are two types of billing methods; defined and transactional. Follow this link for directions to find out the differences between the billing types.
Transactional billing allows users to run billing for future periods and different billing cycles. This means that admins can select the post date, time frame, and category that will be billed. If new students register for a program, billing for the exact period can be created. Any students that were already billed for the selected settings, will not bill again.
Running/Posting Transactional Billing
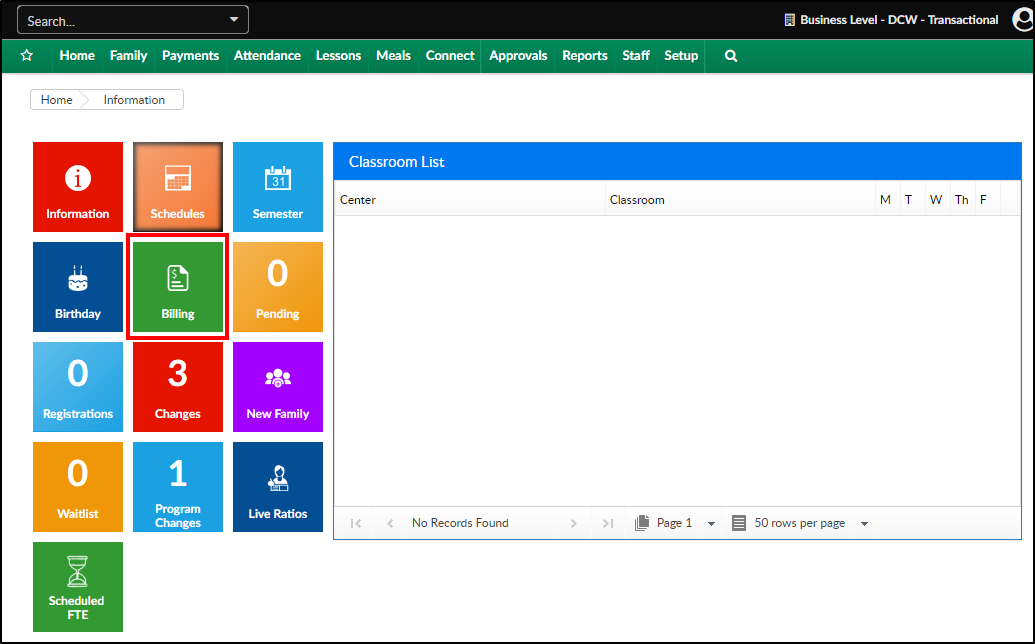
- From the home screen (Home > Information), click the Billing tile
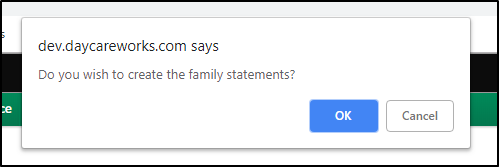
- A confirmation popup will display, "Do you wish to create the family statements?", click OK
- Complete the information in the Billing section
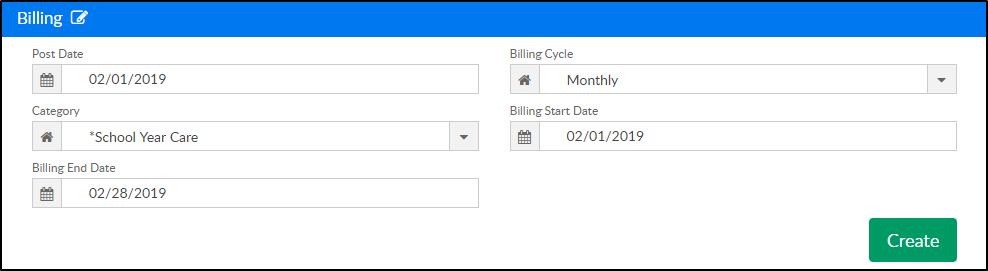
- Post Date - enter the date billing will show as posted. Recommended: typically this should be the same date as the Billing Start Date
- Billing Cycle - select the frequency of billing setup at the room level (Setup > Classroom/Room)
- Category - select the category of the room that will bill out
- Billing Start Date - select the start date of the billing period from the calendar
- Billing End Date - select the end date of the billing period from the calendar
- Click Create. Please Note: the system will process this request and may take a few moments
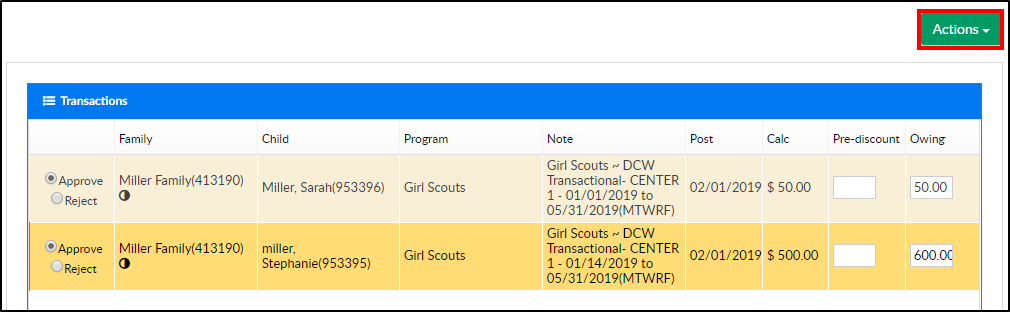
- The Transaction section will display pending billing detail. Each line contains the following information:
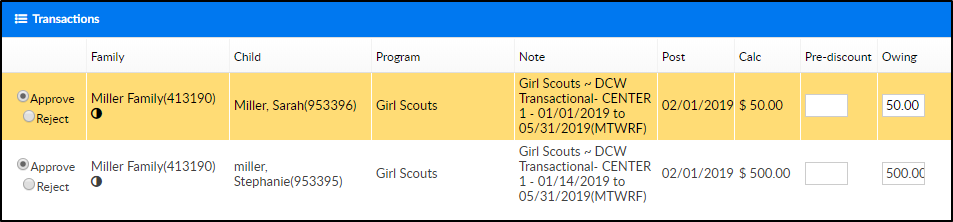
- Approve/Reject - if a line is rejected for a student, the student will need to be manually billed for the period. Please Note: the student will not display in this list if billing is posted again, and their record was rejected
- Family Name & ID - the family name will appear with the family ID in parenthesis
- Child Name & ID - the student's first and last name will display, along with their student ID in parenthesis
- Program - the room/program name will display in the Program column
- Note - details that will appear in the family statement
- Post - the post date selected in the Billing section above
- Calc - the amount of the charge that will post
- Pre-discount - the original amount charged before any discounts
- Owing - the total amount that will display as due on the family ledger. Please Note: if the amount to be billed to the family needs to be updated, make the necessary changes in the Owing field
- Click Post. Please Note: this will add the displayed charges to the family's financial ledger and show as due
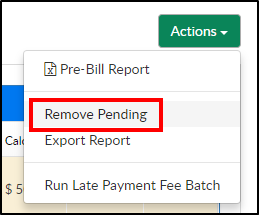
- If changes need to be made to the information in the Transaction section, prior to Posting, click Actions
- Then select Remove Pending to remove all transactions from the list
- Navigate to the student's program/room assignment to make any necessary changes
- After changes have been made, repeat steps 1-6 to run billing
- If changes need to be made to the information in the Transaction section, prior to Posting, click Actions
- Once billing has been posted, there are two statement options at the bottom of the screen

- To Print Batch Statements, select Yes
- To Email Statements, select Yes. Recommended: do not email statements from this screen, billing may only being posting by category. Instead, navigate to Payments > Outstanding to send statements to selected families
- Click Print/Email


