This article will walk through the different setup screens for CACFP. Click here for general information regarding CACFP.
Setup Income Guidelines
Each income year must be added with thresholds for income. This allows families to be classified as Free, Reduced, or Paid on the Children tab in the CACFP/meal section.
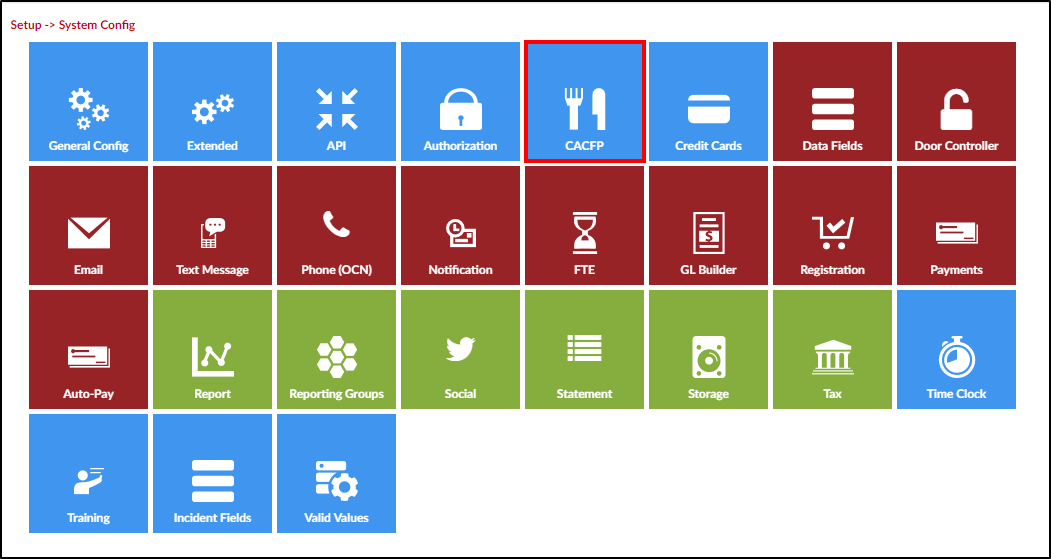
- From the Setup menu, click System Config, then select CACFP
- The Fiscal Year Income Guidelines List will display all current and previous guidelines
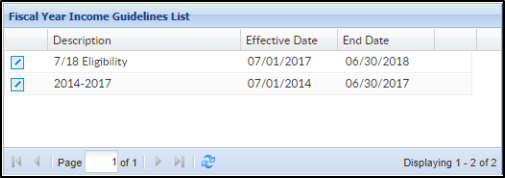
- To update current guidelines, click the edit icon to the left of the Description
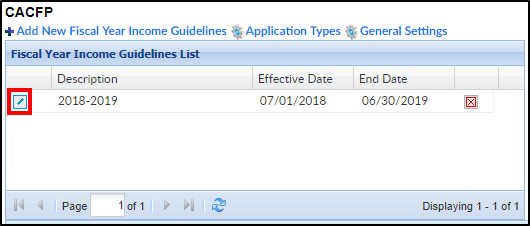
- To create new guidelines, navigate to the Add/Edit Fiscal Year Income Guidelines section
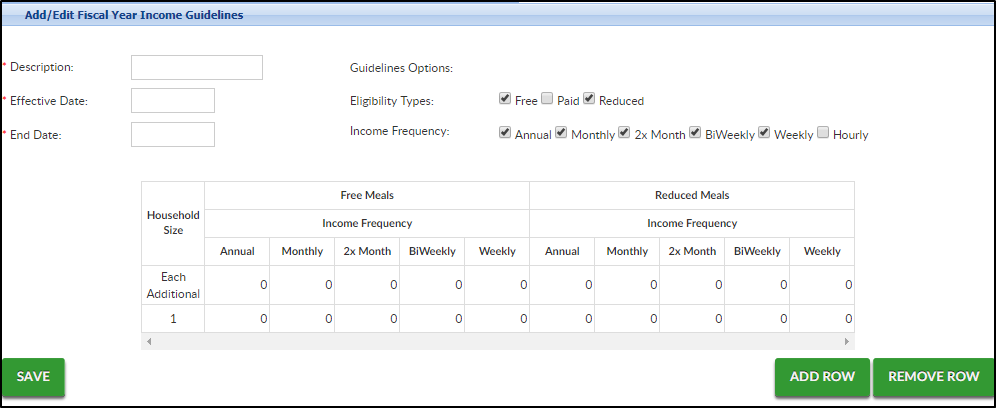
- Description - enter a name for the CACFP period. This description should include the year range for the program
- Effective Date/End Date - enter the start and end dates for the period. Please Note: The effective dates are always July 1-June 30 each year
- Eligibility Types - these are the types of meals that will be recorded for the income portion of the CACFP year
- Free - students do not pay for meals
- Paid - students pay full price for meals
- Reduced - students pay a reduced cost for the meals
- Income Frequency - select the frequencies that should display on the income chart
- In the Income Chart, enter the income guidelines for a family of 1 for Free and Reduced Meals, these numbers are based on the CACFP guidelines
- Enter the income guidelines for each additional family member for Free and Reduced Meals in the Each Additional row
- Click Add or Remove Row to add more rows or remove a row
- Click Save


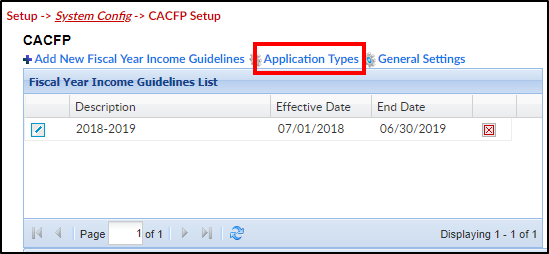
Setup - Application Types
Application Types allow users to track if a student is free, paid, or reduced. There is also a calculate option to have the system calculate a student's status.
- From the Setup menu, click System Config, then select CACFP
- The Fiscal Year Income Guidelines List will display all current and previous guidelines. Click Application Types
- The CACFP Application Types List will display all current application types
- In the Add/Edit CACFP Application Type section, enter a Field Label. The Field Label should be Free, Reduced, Paid, or Calculated
- Eligibility Type - choose from the drop-down menu
- Region - select the region the application relates to, if applicable or select All
- Requires Agency Docs
- Yes - this application type requires documentation from an agency
- No - this application type does not require documentation
- Requires Code Entry
- Yes - this application type requires code entry
- No - this application type does not require code entry
- Click Save
- Continue this process until all application types have been added into the system

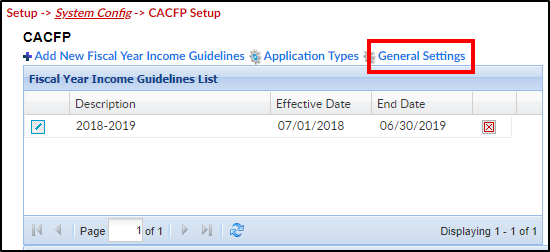
Setup - General Settings
- From the Setup menu, click System Config, then select CACFP
- The Fiscal Year Income Guidelines List will display all current and previous guidelines. Click General Settings
- Display "At Risk" Type - click here for more information on At Risk
- Yes - the center or business is serving an "At Risk" community
- No - the center or business is not serving an "At Risk" community
