Once a new family registers via the registration page, their registrations are placed in a Pending status and will display on the Approvals > Registrations screen.
The Actions drop-down menu has the following options:
- Registration Report - this Excel report includes a count of completed and pending registrations filtered by category, then center, then room
- Registration Payment Report - this report opens in Excel and includes registration #, date, name, address, course, program, site, payment type, amount, transaction #, and payer name
- View SIS
There are many available options from this screen, please follow the instructions below:
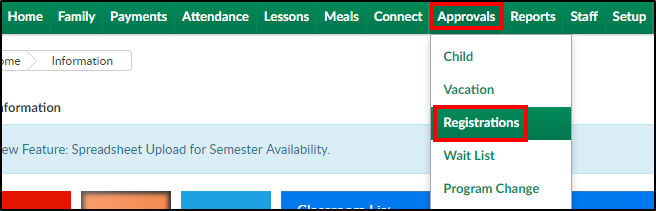
- Click Approvals from the menu bar and select Registrations
- Click the Search Criteria button to display search options. There are several ways to search:
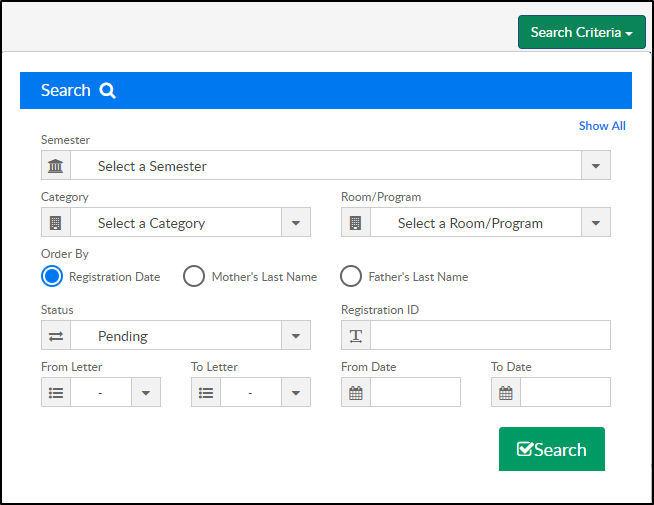
- Semester - use the drop-down to view a specific semester's registrations
- Category - choose a category from the drop-down to view student registration from a specific category
- Room/Program - to only view a specific room, use the Room/Program drop-down to select the center/room
- Order By - select how the registrations will be sorted: Registration Date, Mother's Last Name, or Father's Last Name
- Status - view only registrations in a specific status. For example, select Pending to view only pending registrations
- Registration ID - to view only a specific registration, enter the Registration ID
- From/To Letter - to filter the results by a letter or group of letters, use the From/To Letter drop-down. For example, only view registrations from students with the last name from A-G
- From/To Date - filter the results by a specific date range
- Click Search
- The filtered results will appear
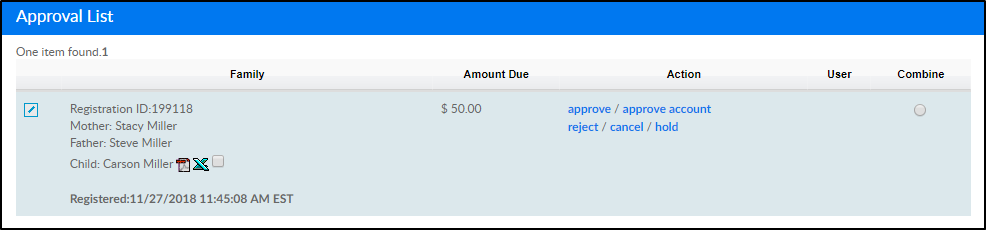
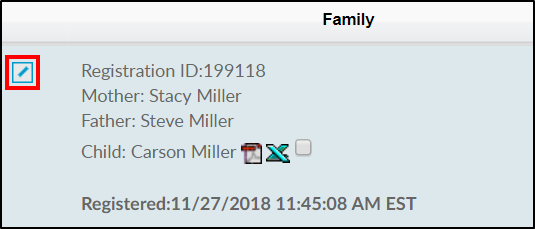
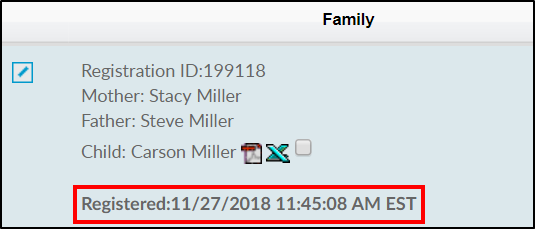
- The Family column includes the following information:
- Click the Edit icon to view the registration information such as amount due, payment information, parent/guardian information, student(s), and contacts. Information can be edited from this screen and the family can be Approved or Rejected
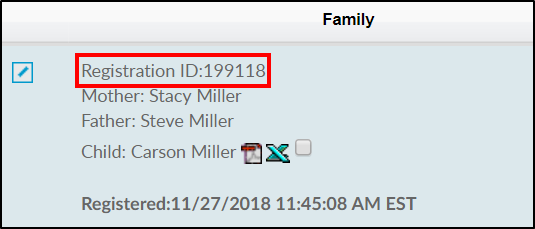
- Registration ID - a registration ID is created for each family that registers
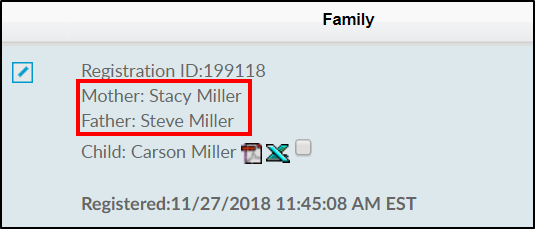
- Guardian 1/Guardian 2 (Mother/Father's) names.
- Student(s) name
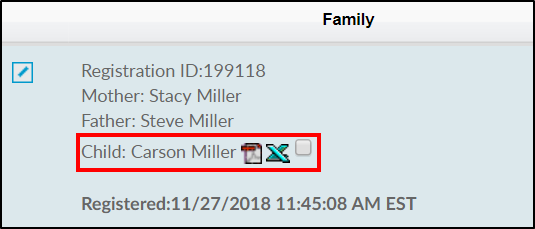
- Click the PDF icon to view/print the Information Card for the student
- Click the Excel icon to view/print the Registration Form for the student
- Registered date and time
- Click the Edit icon to view the registration information such as amount due, payment information, parent/guardian information, student(s), and contacts. Information can be edited from this screen and the family can be Approved or Rejected
- Amount Due is the current amount due from the family

- This will be $0.00 if the family paid for the registration online
- There will be an amount in this column if the family used a Check Unlock Code
- The following options are available from the Action column:
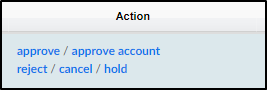
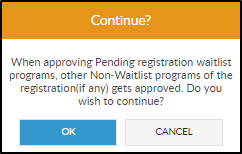
- Approve - Approves/creates the family account and enrolls the student(s) into the registered room/program
- Upon clicking Approve, the following confirmation popup will appear. This popup confirms all program registration for this family will be approved
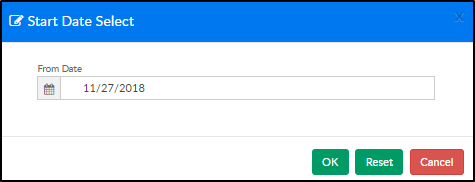
- Confirm or enter a Start Date, then select OK. Please Note: the date cannot be changed if room is an Event. Cancel will close out of the popup and not approve the pending registration
- Upon clicking Approve, the following confirmation popup will appear. This popup confirms all program registration for this family will be approved
- Approve Account - Creates the family account. All room assignments are moved to Approvals > Wait List to individually approve each student
- Reject - reject the family account and reject the room/program registration for the student(s). When clicking Reject, a Create Note popup will appear. Enter any notes and click Apply
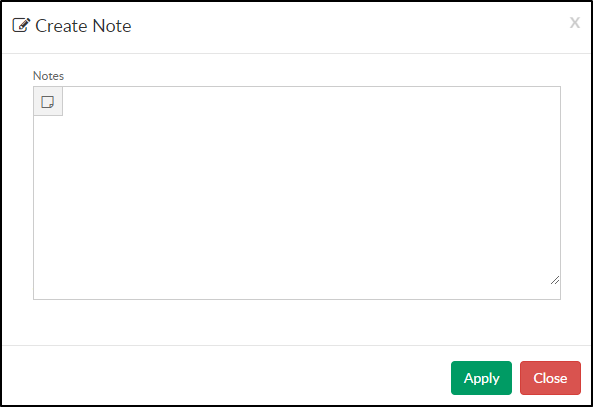
- Cancel - cancel the family account and cancel the room/program registration for the student(s). When clicking Cancel, a Create Note popup will appear. Enter any notes and click Apply

- Hold - place the family's account and the room/program registration on hold. This will not create the family's account or enroll the student(s). When clicking Hold, a Create Note popup will appear. Enter any notes and click Apply

- Approve - Approves/creates the family account and enrolls the student(s) into the registered room/program
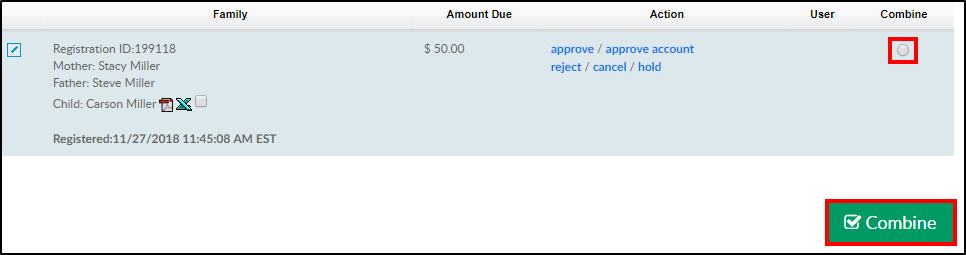
- Combine - if there are duplicate registrations for families in the Approval List, select each of the families by clicking the radio button under the Combine column. Then select the Combine button below the list