Discounts can be applied to families so the amount is automatically deducted when billing is created. Discounts can be in the format of a dollar amount or a percentage. Keep in mind the following points when creating a discount
- Only one discount can be applied to a student
- Discounts will not apply to registration fees, event programs, or parent managed calendar day selection
Creating a Discount
- Click Setup from the menu bar and select Rates
- Click Actions and choose Setup Discounts from the drop-down
- Scroll to the Discount section and complete the fields
- Name - enter the name of the discount
- Discount Type
- Normal - this type of discount will display in the discount drop down menu on the student's program/room assignment tab
- Corporate - this type of discount will display on the parent screen, in order to apply this type of discount an employer ID must also be entered on the parent scree
- Discretionary - this type of discount will display in relation to a specific program/room assignment
- Third Party Overmarket Setup - this type of discount will be added on the setup > third party screen and will display if an overmarket value is incurred. (Overmarket is the difference between the market rate of tuition, parent copay and third party sponsor total)
- Discount Amount - enter the amount of the discount, then select from the drop-down
- Percent - this would give the student a percentage off the total
- Fixed Amount - this would lock the student in at a specific amount
- Dollar Off - this option would take dollars off the total amount
- GL Code - enter the general ledger code for the discount, if applicable
- Apply To Ages (In Months) - enter the ages, in months, of the students eligible for the discount
- Apply To All
- Programs
- Yes - apply this discount to all classrooms within the center
- No - do not apply to all classrooms within the center
- Brands
- Yes - apply this discount to all brands in the center
- No - do not apply this discount to all brands in the center
- Programs
- Display as Family Discount
- Yes - if this is a family discount. This must be selected to create the family discount
- No - this is not a family discount
- Apply To Revenue
- Registrations
- Yes - apply the discount to registrations for the student
- No - do not apply the discount to registrations
- Tuition
- Yes - apply the discount to tuition for the student
- No - do not apply the discount to tuition for the student
- Registrations
- Discount Limited
- Employees
- Yes - this discount is only available to employees in the center
- No - the discount is not only for employees
- Siblings
- Yes - the discount is available only for siblings in families in the center
- No - the discount is not only available for siblings
- Employees
- Employee Months of Service - if the discount is for employees, enter the required months of service
- Reporting Group - if a reporting group is selected, the discount will be applied to every student within the family that is associated to the reporting group. The discount will not appear on the discount drop-down list on a student's Program/Room Assignment section
- Parent Managed Count Days
- Yes - the discount will be applied to a parent managed calendar. This option will only work for discounts setup as Fixed Amount
- No - this discount will not be applied to a parent managed calendar
- Starts - enter the start date of the discount
- Ends - enter the end date of the discount
- Complete the Corporate Discount Information section, if applicable. This information is for the discount sponsor
- Click Save
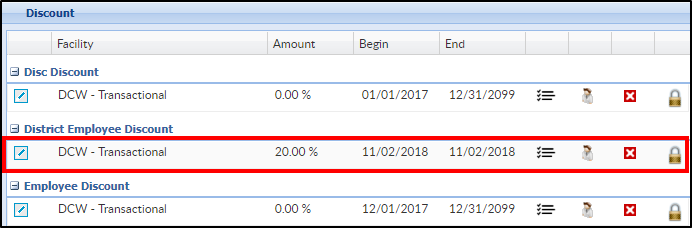
- The discount will now be added to the Discount section

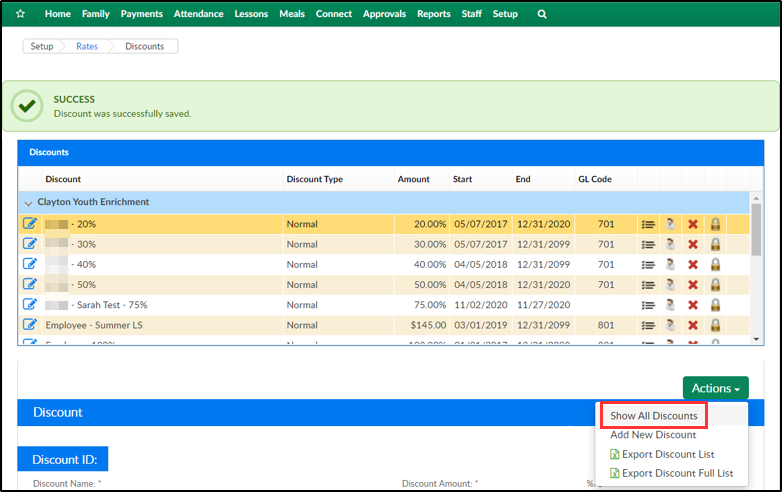
Viewing Expired Discounts
Expired discounts can be viewed from the Setup Discount screen by navigating to Actions > Show All Discounts.
Adding Discount Categories
Discount categories allow administrators the ability to assign specific discounts for categories or classrooms.
- If a Category must be added to the new Discount, click the View Discount Categories icon

- Fill out the Category section
- Category - select a category the discount should apply to
- Classroom - if the discount should only apply to a specific classroom, choose that here
- Rate - if a specific rate should be discounted, select the rate here
- Discount Amount - enter the discount amount, then select percent or fixed amount from the drop-down list
- Click Save

View/Edit Authorizations
- To authorize a discount for a specific center or state, click View/Edit Authorizations

- Select the Center and/or State from the drop-down list
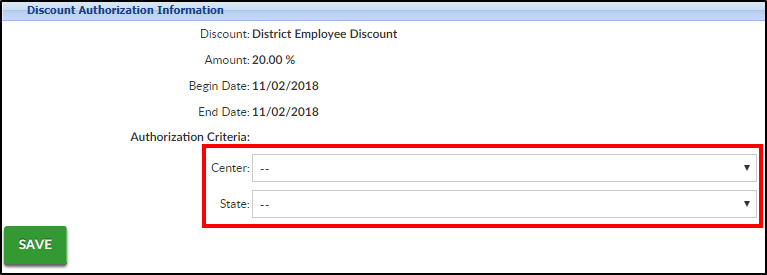
- Click Save

